 Sign In / Sign Up
 Orders
 Product Keys
 Downloads

 Go to United States of America - English (USD)
Installing Windows Server 2019 in VirtualBox: Step-by-Step Guide
Begin the VirtualBox installation on your computer by following these instructions:
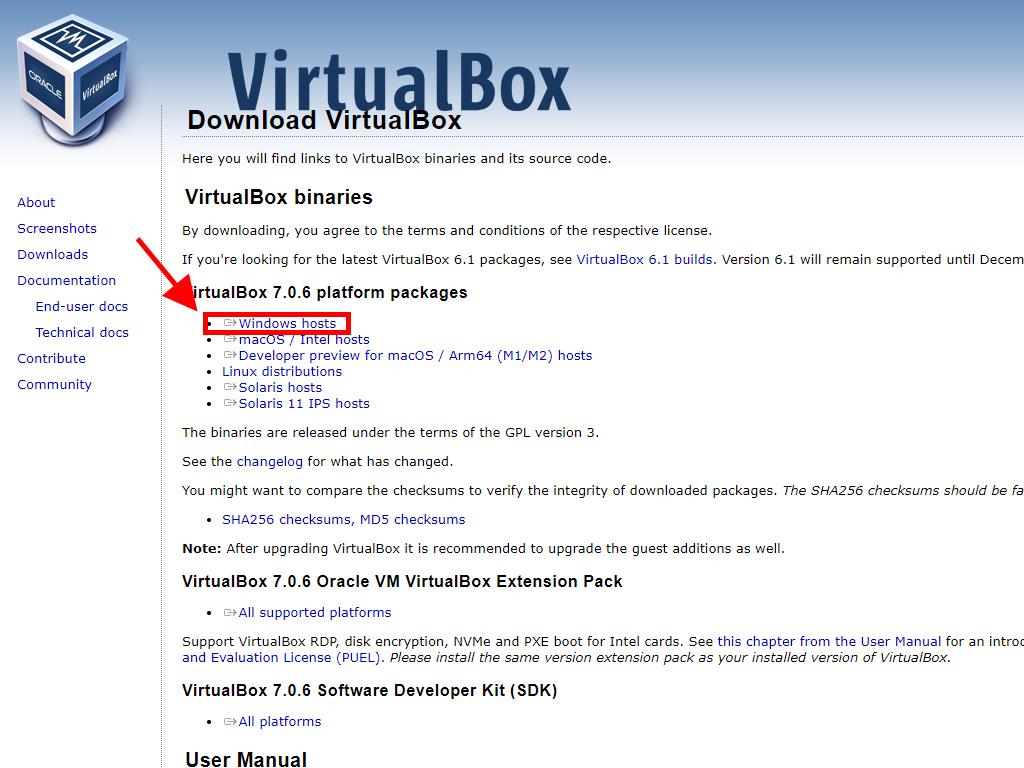
- Access this link and choose the Windows Hosts from the available options.
- The download of the VirtualBox setup will commence.
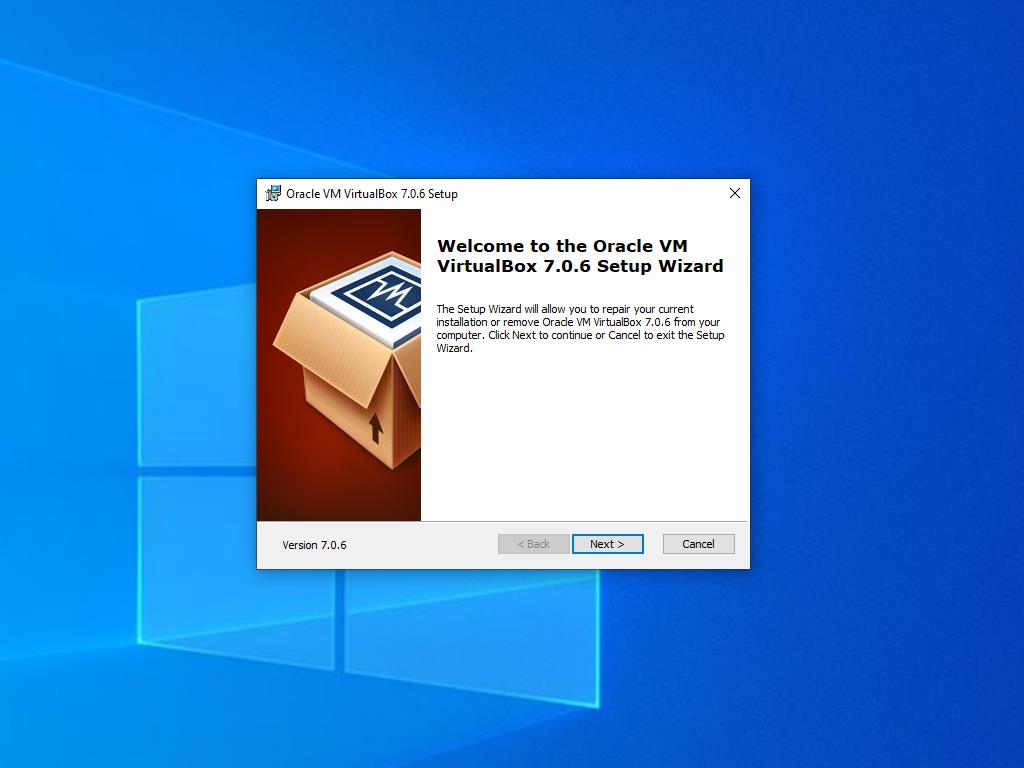
- Launch the downloaded VirtualBox setup and proceed with installation.
Tip: If installation issues arise with VirtualBox, opt to disable USB features during setup.
Here’s your guide to creating a new VirtualBox virtual machine:
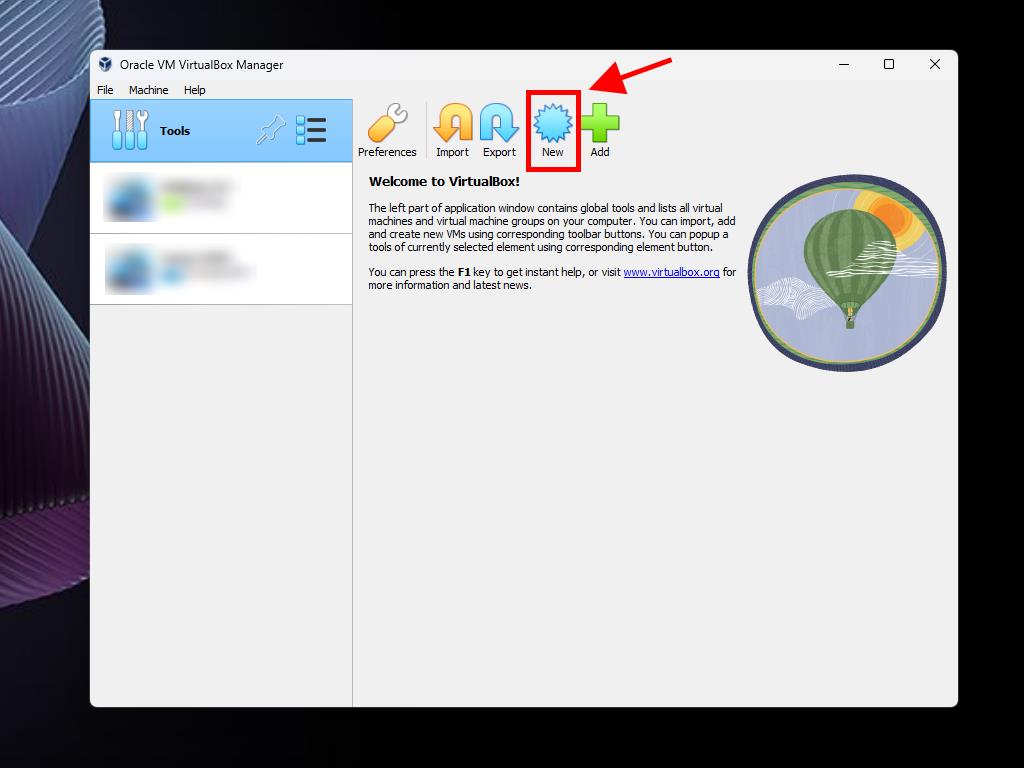
- Click the New button in the Machine menu.
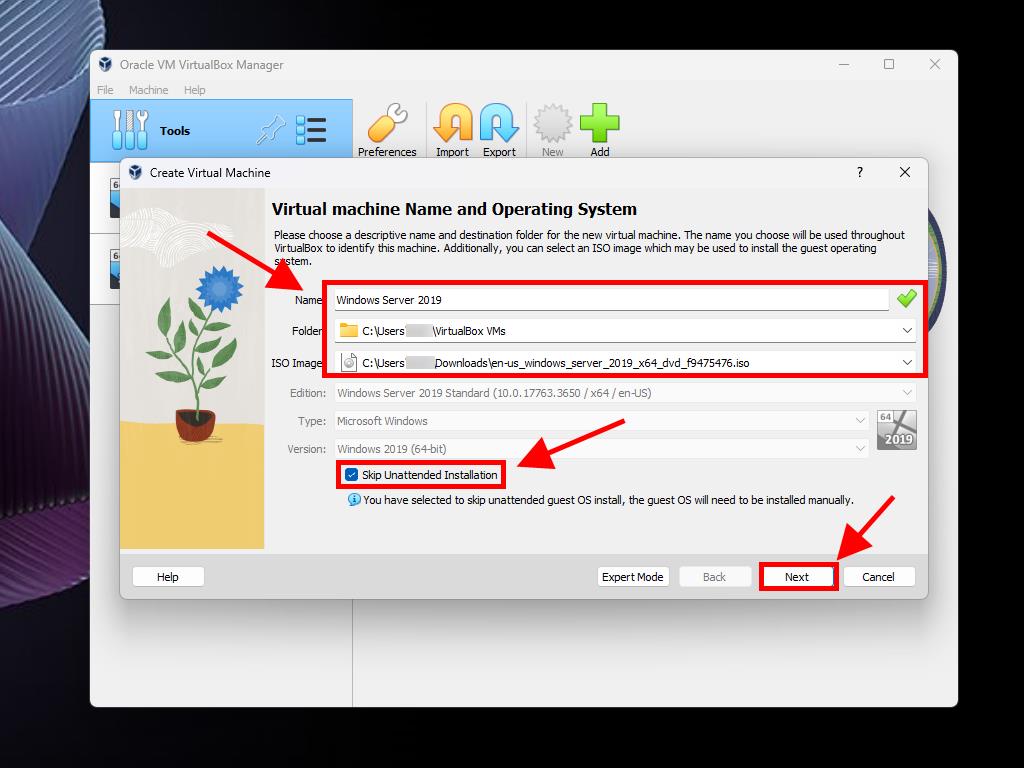
- Name your Virtual Machine, select the directory for the Windows Server .iso file, and press Next.
- Allocate at least 4 GB of RAM and click Next.
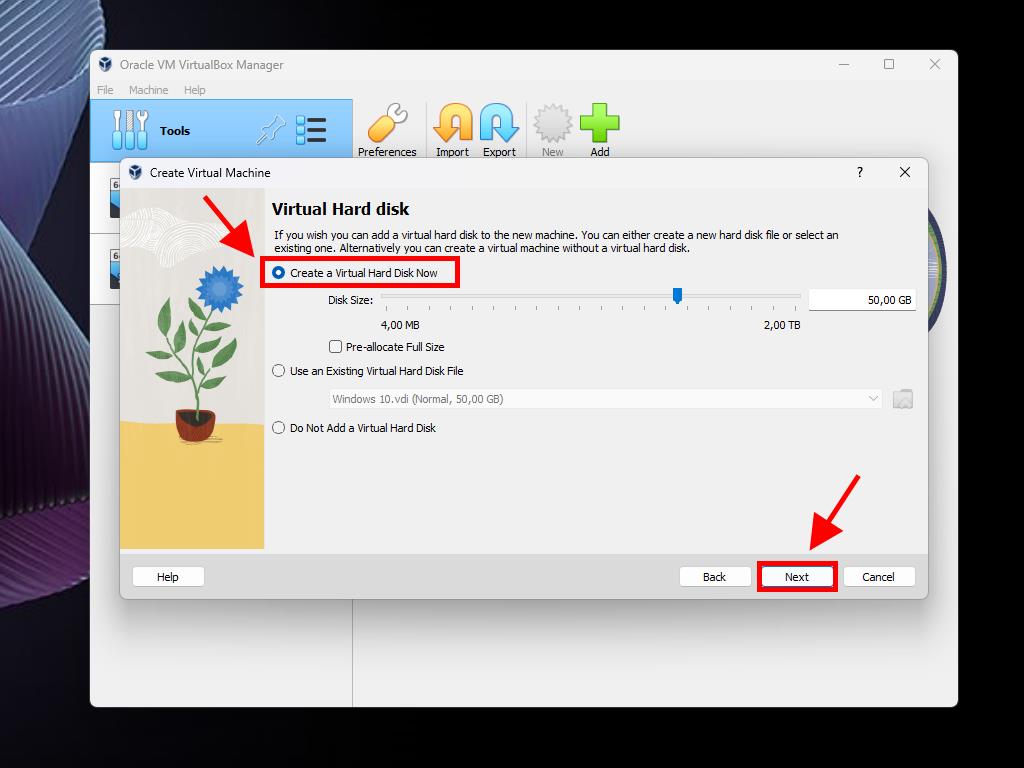
- Opt to create a Virtual Hard Disk now; a minimum of 50 GB is recommended for optimal performance. Then, click Next.
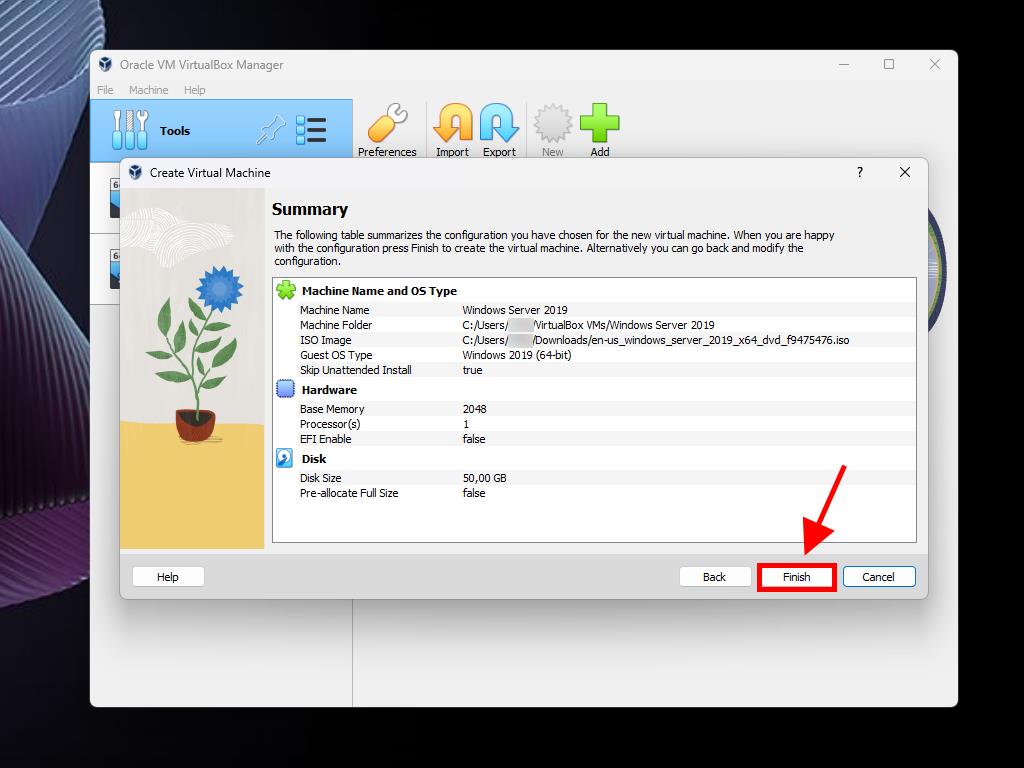
- Conclude setup with a click on Finish in the summary window.
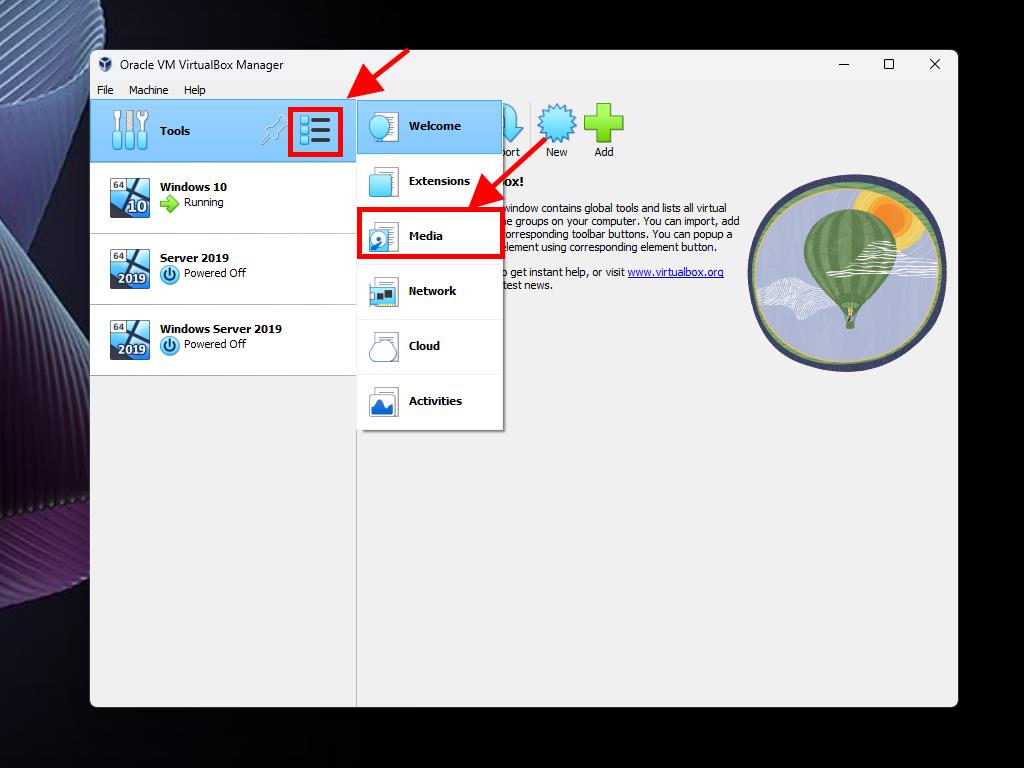
- In the Tools menu, access the Windows 10 .iso by selecting the three-dot icon, then choose Media from the dropdown menu.
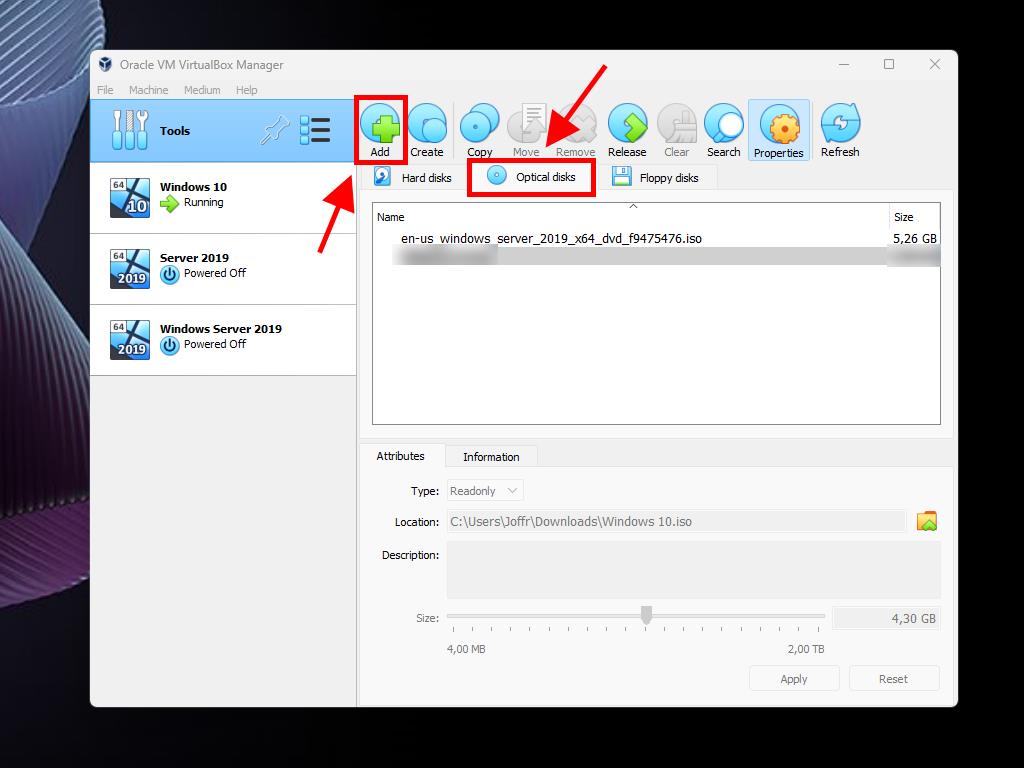
- Proceed to the Optical Disks tab and click Add.
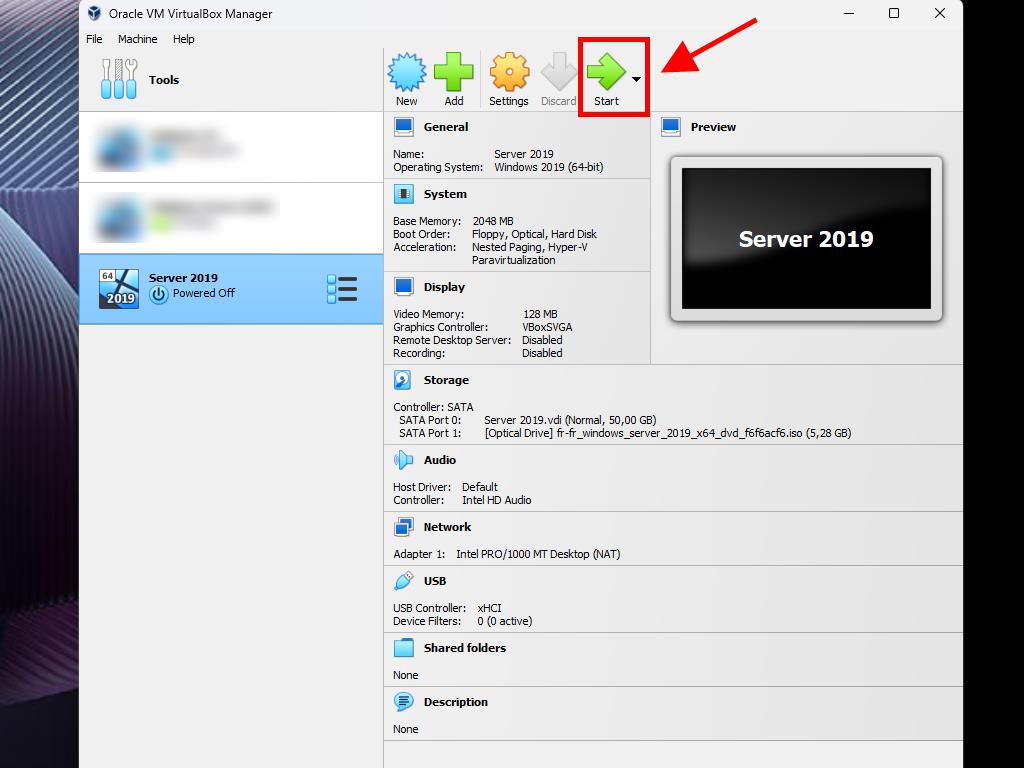
- Start the virtual machine by selecting Start.
- The Windows Server 2019 installation process will initiate.
Note: Opt out of automatic installations by unchecking Skip Unattended Installations.
Tip: Adjust the RAM amount based on your specific requirements and system specifications.

For additional guidance on configuring Windows, see our tutorial: How to install Windows Server 2019?