Creating a Bootable USB for Windows Server 2019 Installation
Begin by obtaining the Windows Server 2019 .iso file, then proceed to craft a bootable USB drive for installation purposes.
Note: Ensure your USB device has at least 16 GB of space.
To create your installation media, you'll need:
Rufus
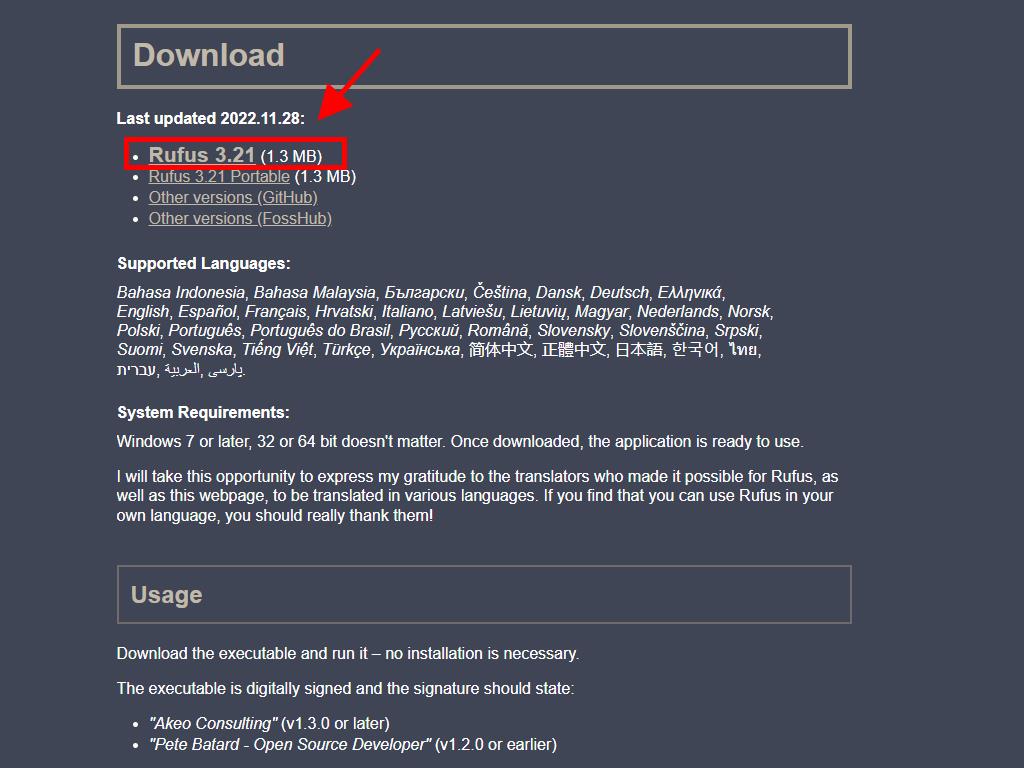
- Click here to download Rufus for free.
- Visit the Download section below to get the latest Rufus version.
- Insert your USB and launch the Rufus application.
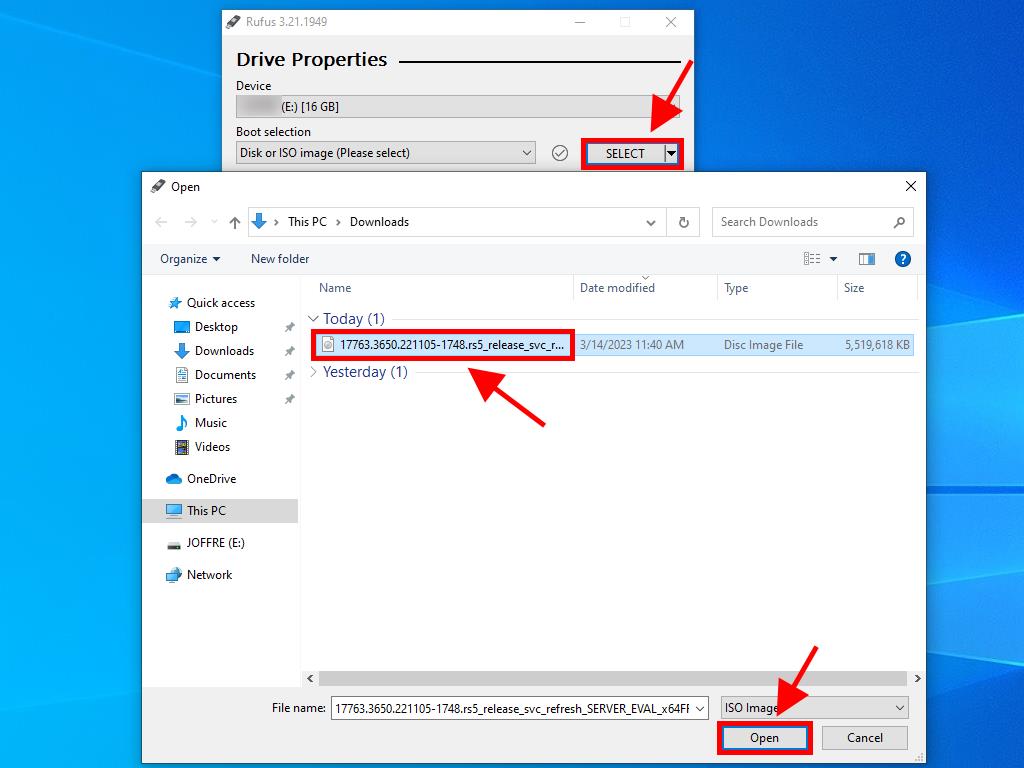
- Select the Select button to locate and load your Windows Server 2019 .iso file.
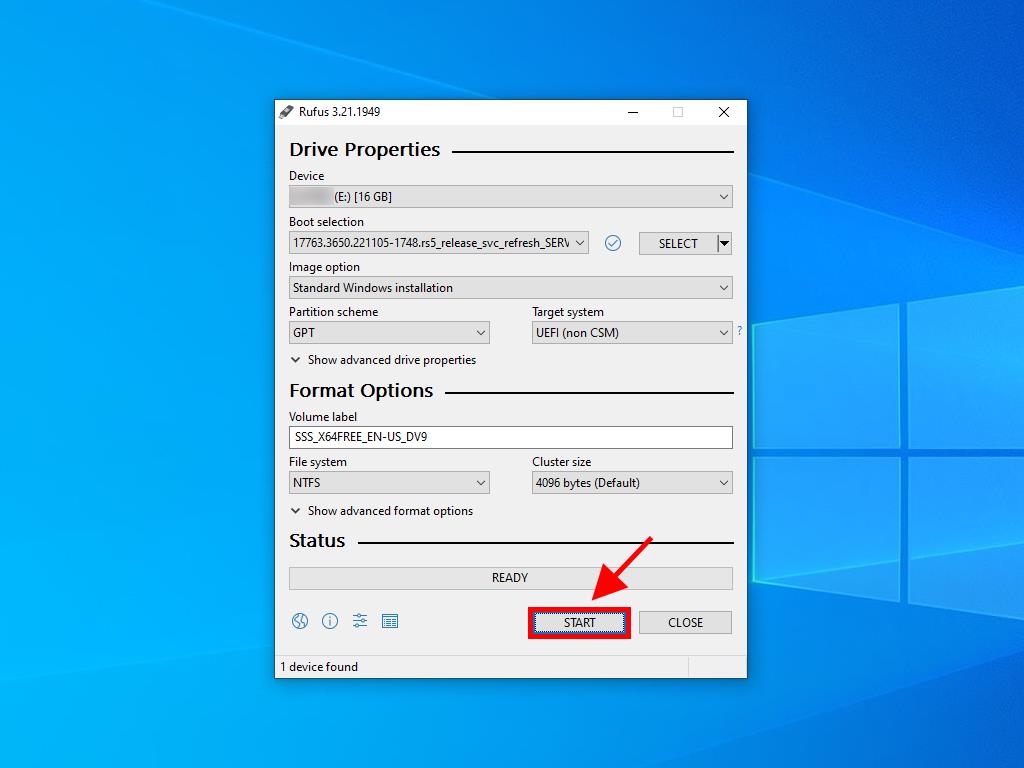
- Press Start to initiate the USB creation process.
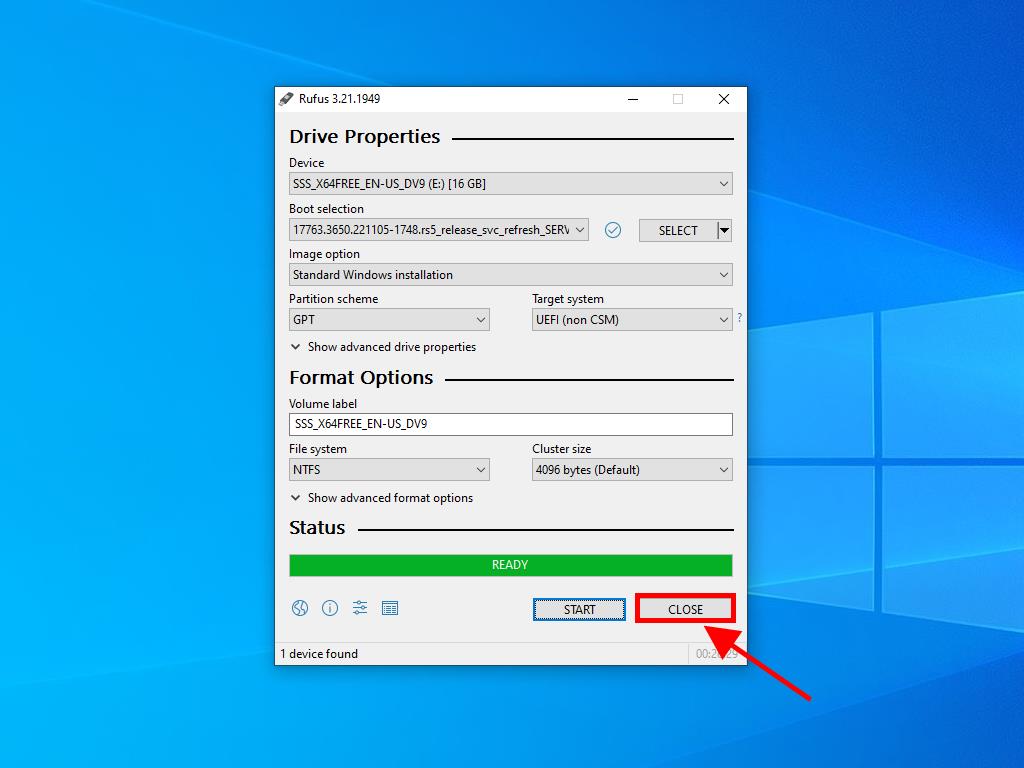
- Once the 'Ready' indicator appears, hit Close. Your USB drive is now prepared to install Windows Server 2019.


Alert: A customization prompt will appear during the process. Choose Disable Data Collection and continue to create the bootable USB drive.


 Sign In / Sign Up
 Orders
 Product Keys
 Downloads

 Go to United States of America - English (USD)