How to Prepare a Bootable USB for Windows Server 2016 Installation
To begin setting up your system, first download the Windows Server 2016 .iso file, then proceed to create a bootable USB drive.
Remember: A 16 GB USB stick is required for this process.
For creating the drive, we recommend using:
Rufus
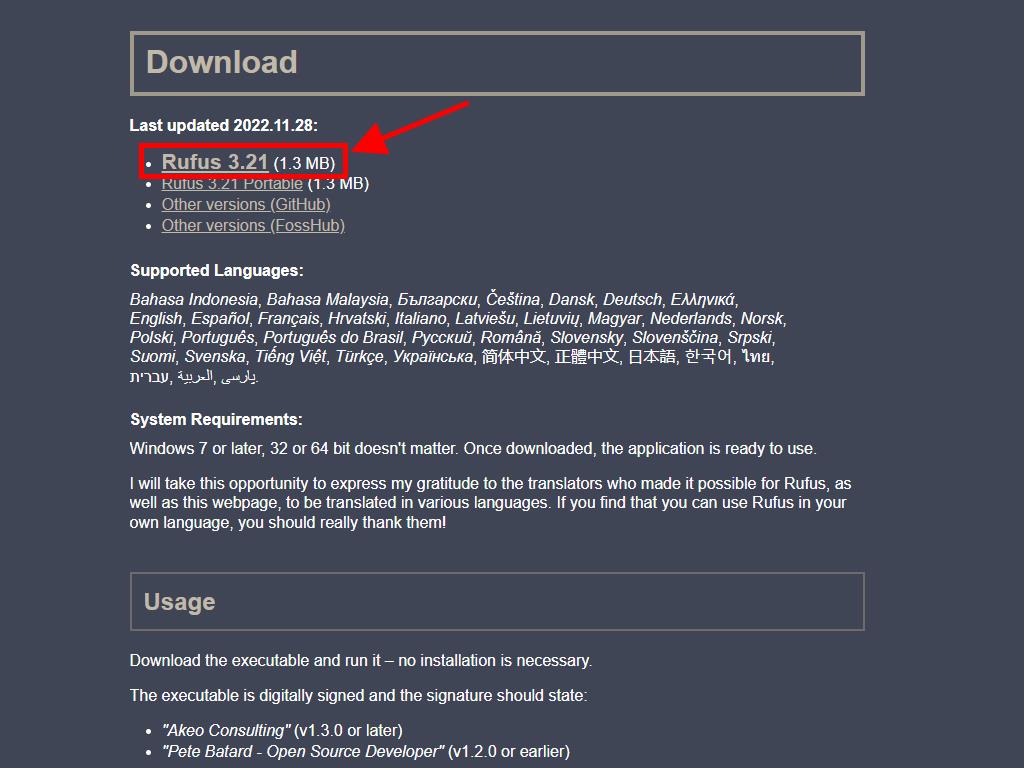
- Click here to download Rufus for free.
- Navigate to the Download section to find the latest version.
- Insert your USB stick and open the Rufus application.
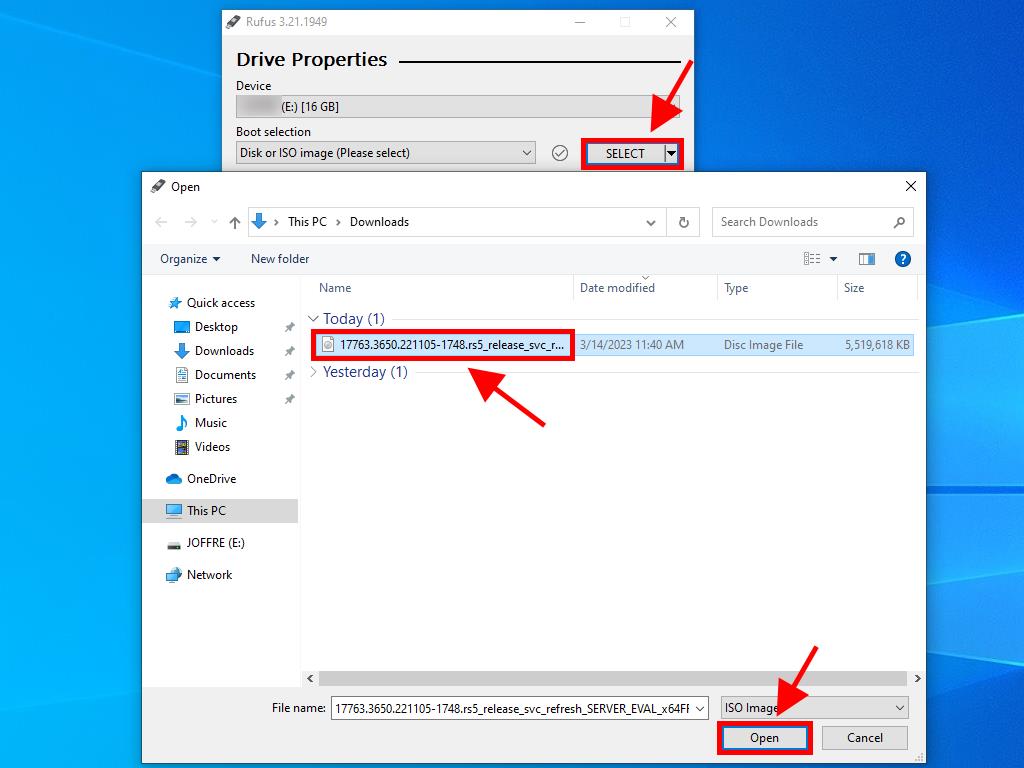
- Press Select to find and choose the Windows Server 2016 .iso file.
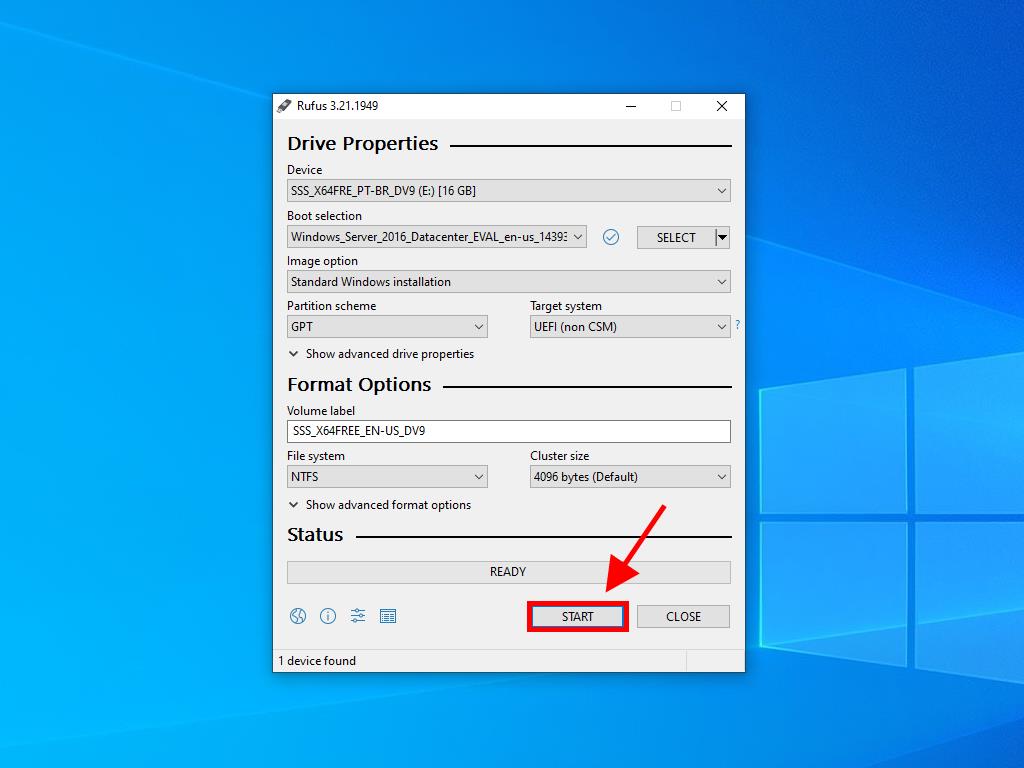
- Hit Start and allow Rufus to process the creation of your bootable drive.
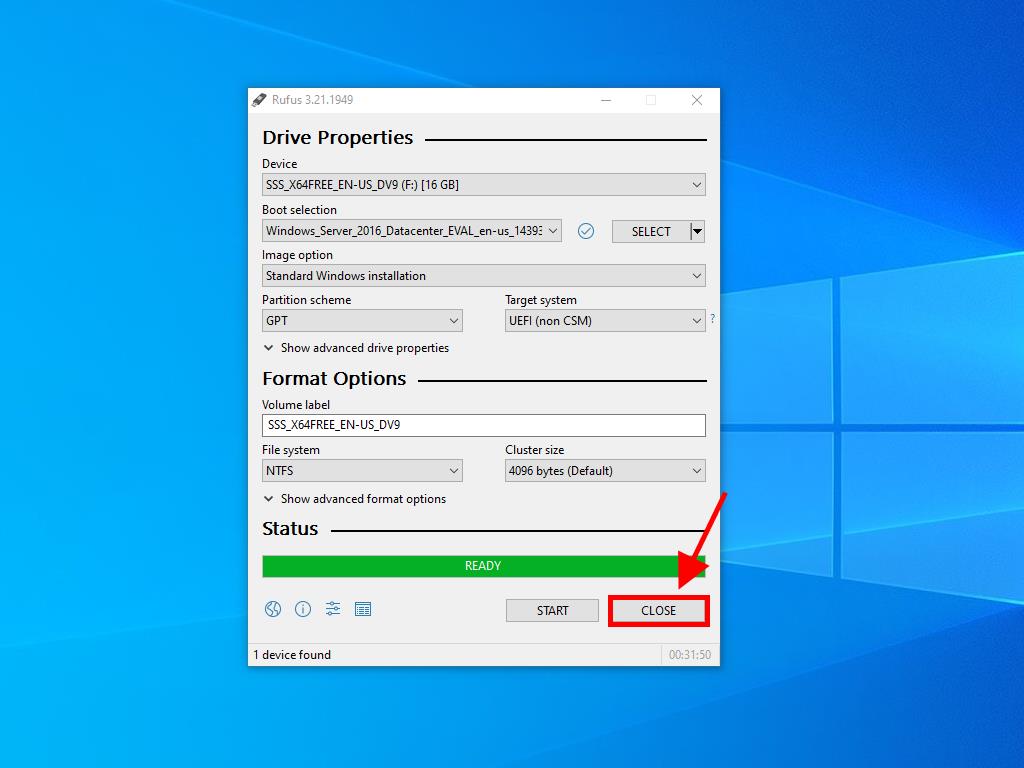
- Once Rufus indicates 'Ready' on the progress bar, click Close; your USB is now set to install Windows Server 2016.


Be aware: A window titled 'Customize Windows Installation' will pop up, choose the Disable Data Collection option and continue the process.


 Sign In / Sign Up
 Orders
 Product Keys
 Downloads

 Go to United States of America - English (USD)