Sign In / Sign Up
 Orders
 Product Keys
 Downloads

 Go to United States of America - English (USD)
Installing Windows Server 2012 R2: A Step-by-Step Guide
Initiate your installation by creating a USB drive that's bootable. Here’s how you can set up Windows Server 2012 R2 from scratch:
- Switch on your server and let Windows load; after this, insert the bootable USB for Windows Server and restart your machine.
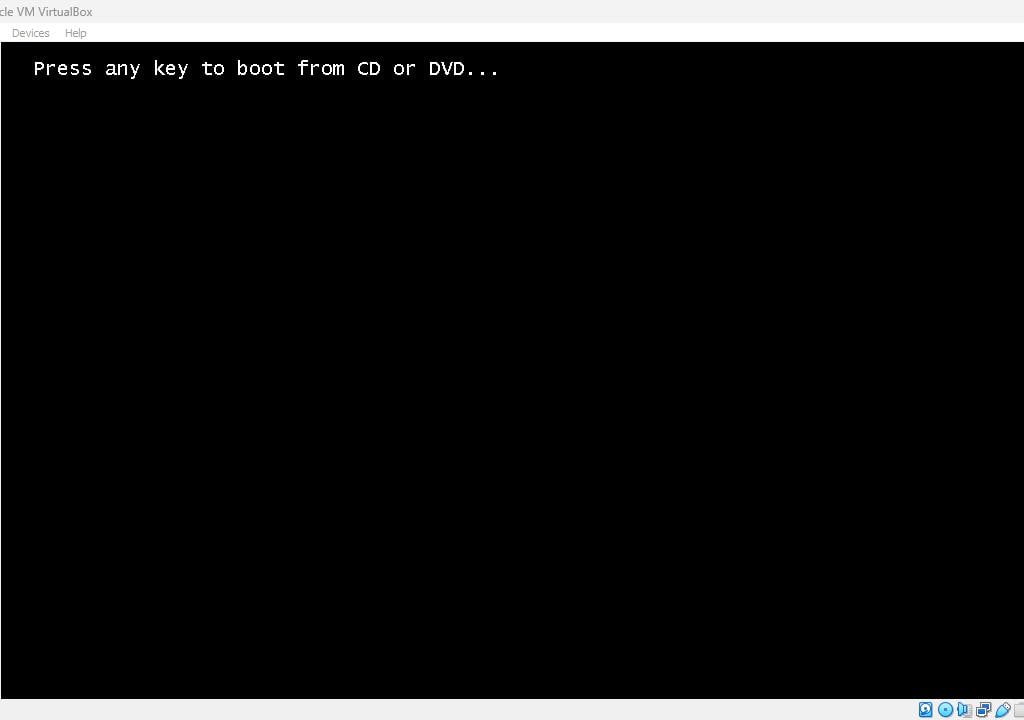
- Your system should now attempt to boot from the USB. Promptly press any key when the Press any key to boot from CD or DVD message displays.
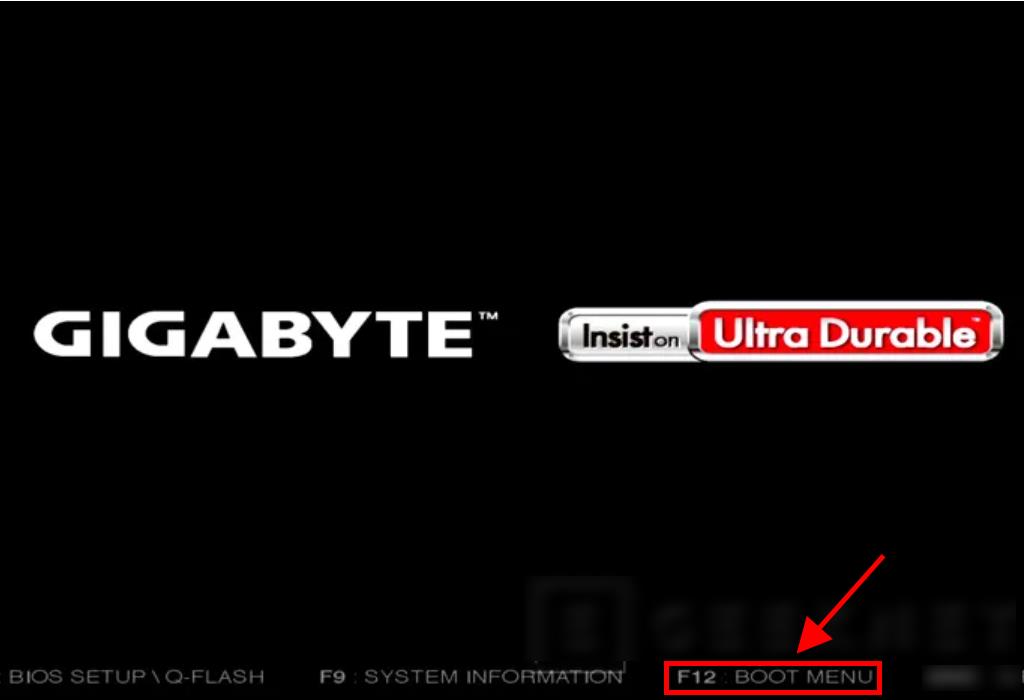
- As your PC reboots, watch for the manufacturer’s emblem and press the key for the BOOT menu, often F2, F10, F11, F12 or Del.
- Adjust the boot sequence so the USB device is first.
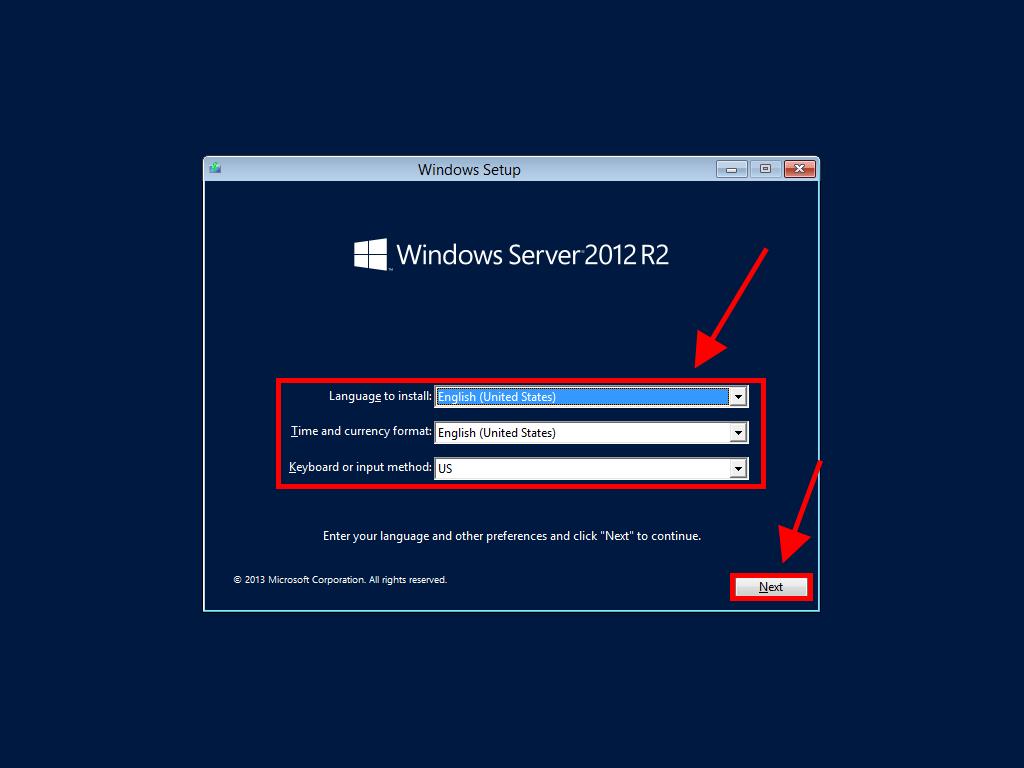
- In the setup interface, select your language, time and currency preferences, and keyboard settings, then click Next.
- Press Install now to begin the setup.
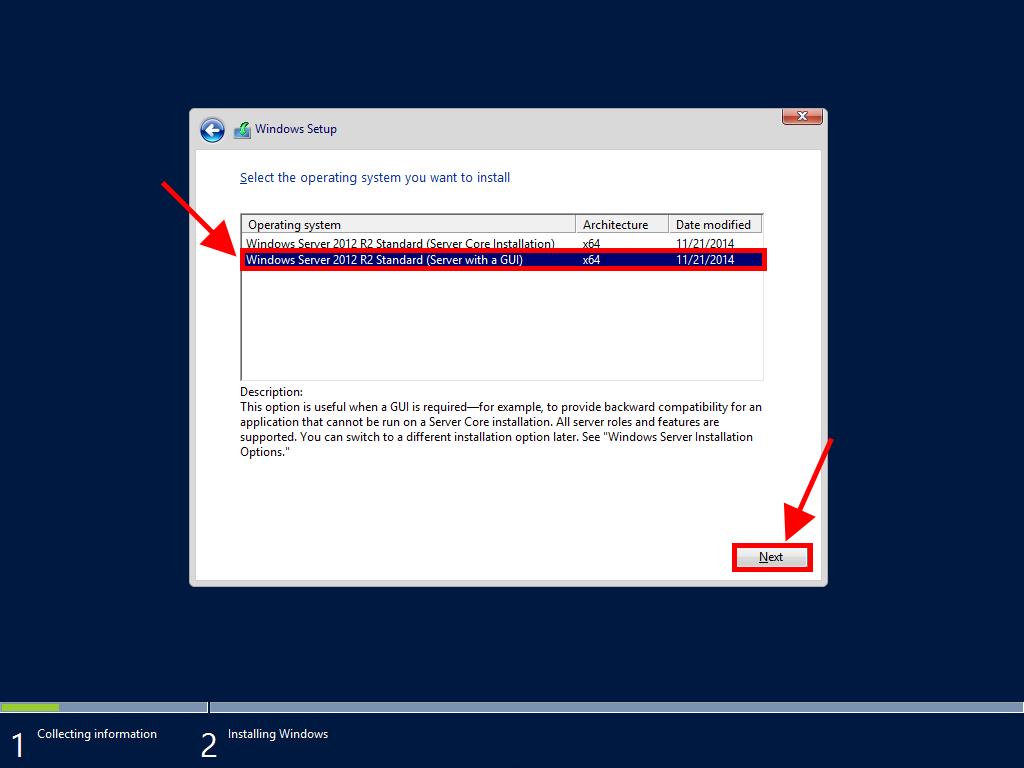
- Select the desired Windows Server edition, preferably one with GUI, and click Next.
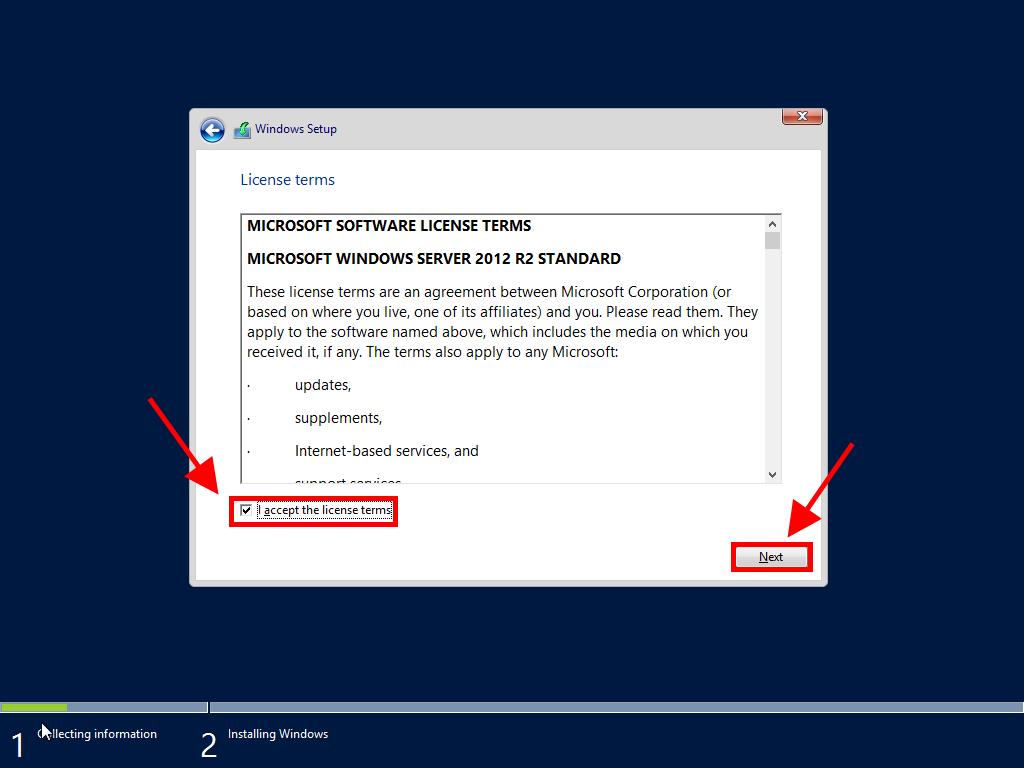
- Consent to the licensing terms by selecting Next.
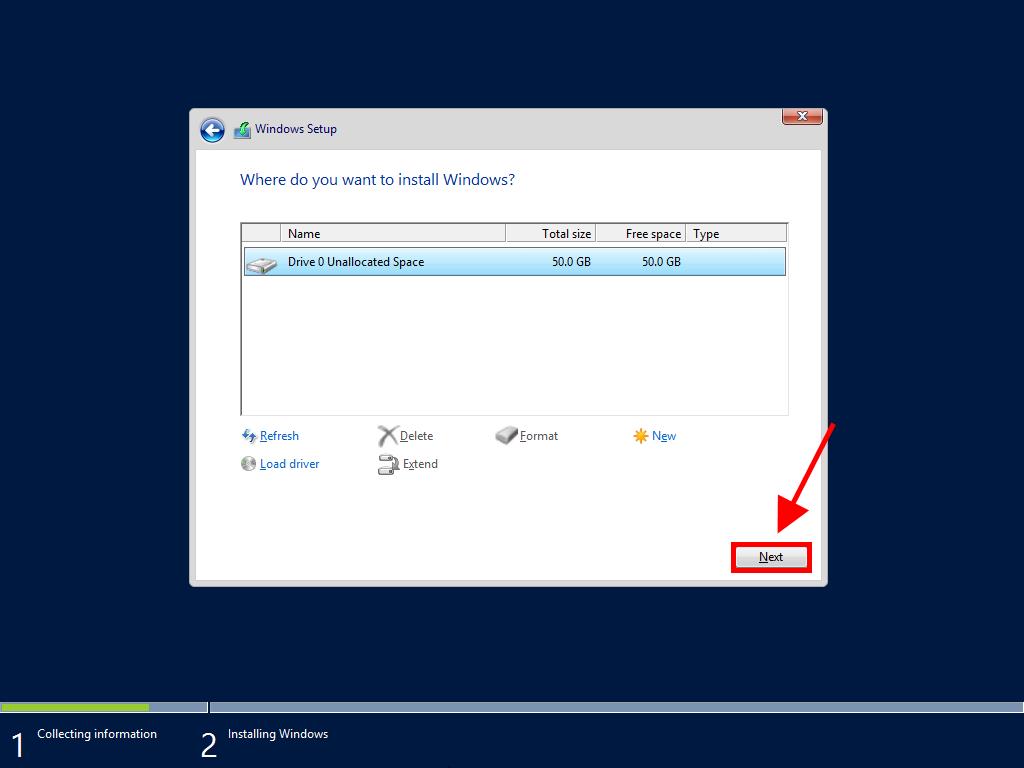
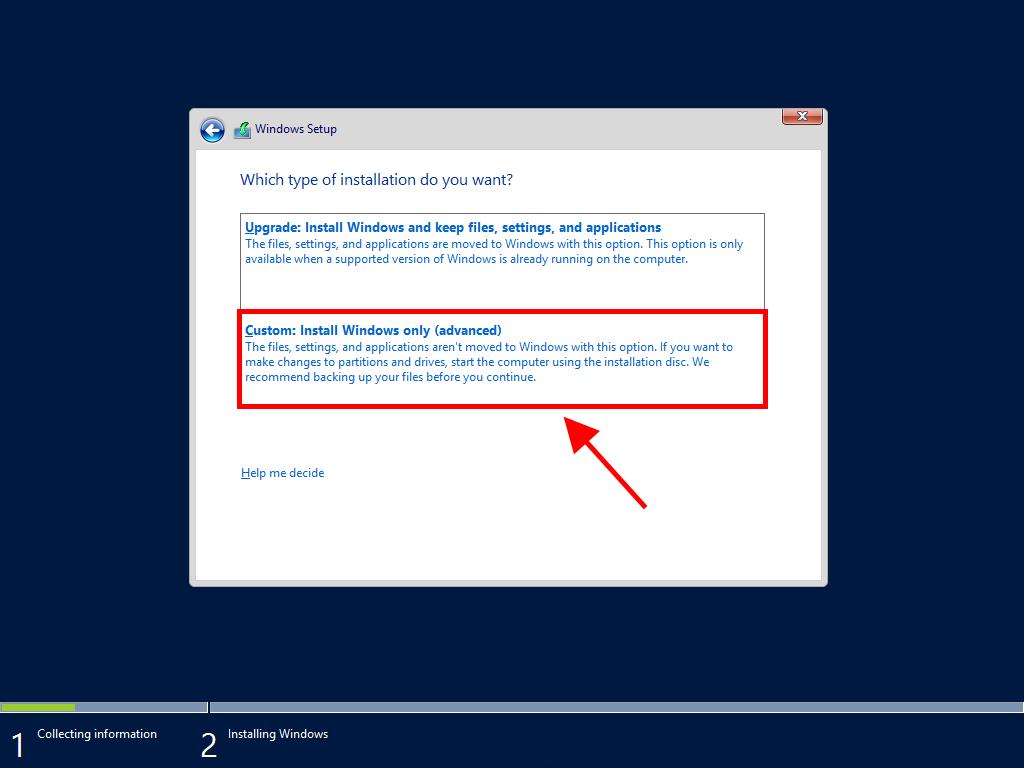
- Select Custom: Install Windows only (advanced) to proceed.
- Pick the installation drive and click Next.
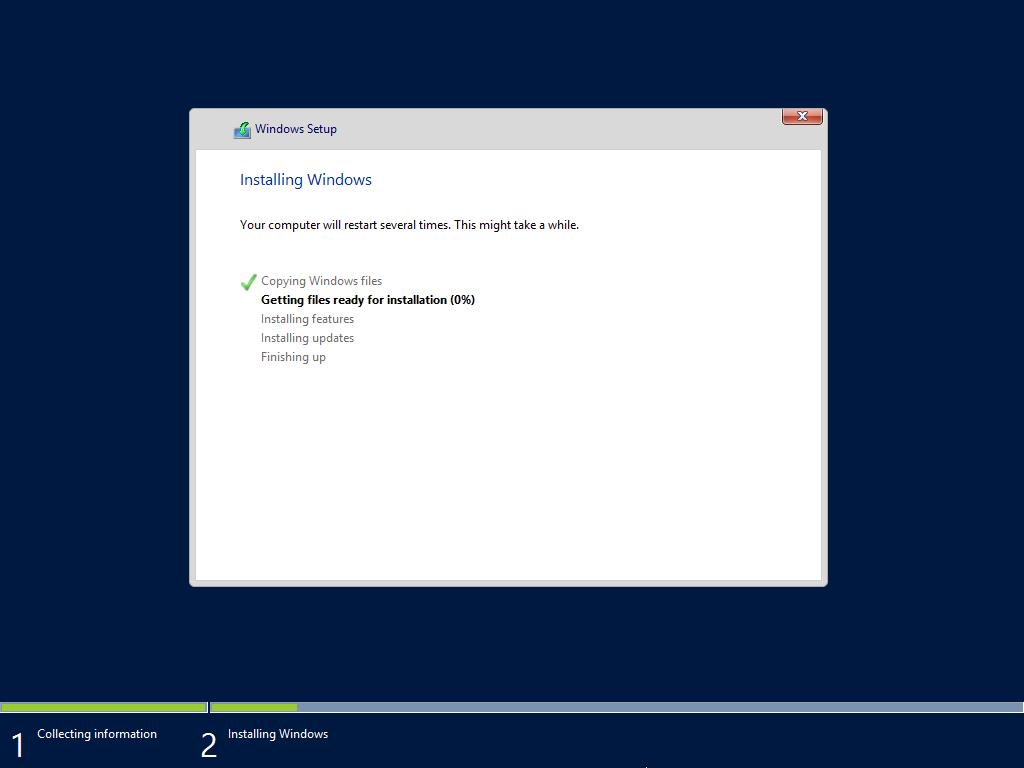
- The installation process will commence, which may take some time.
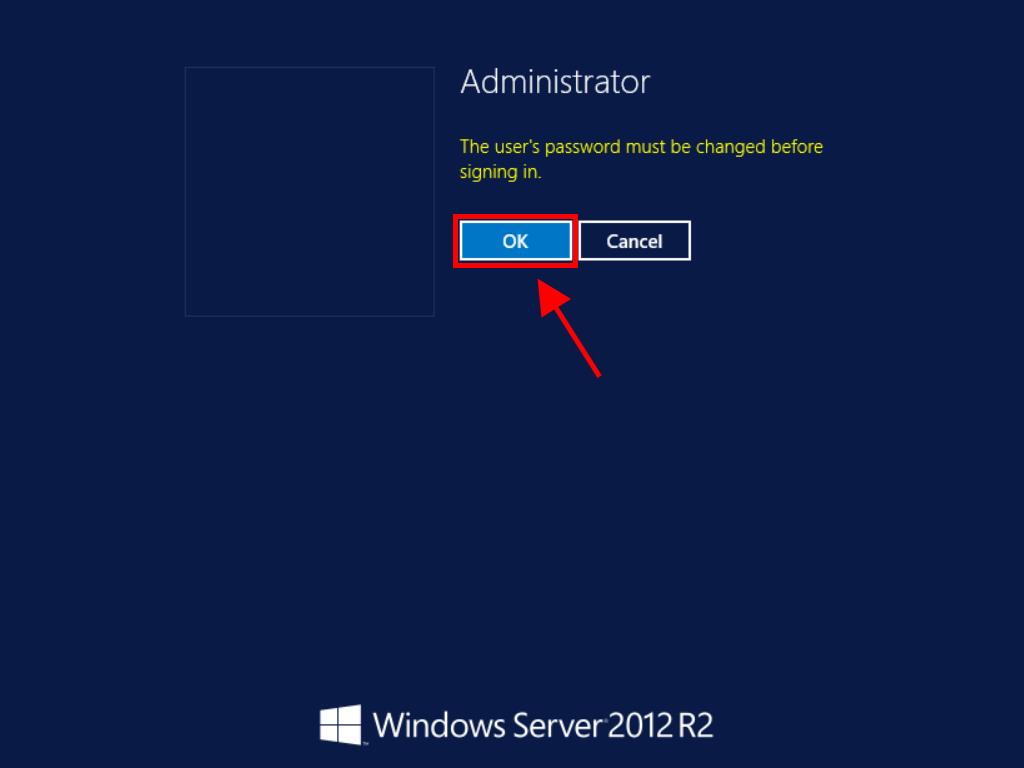
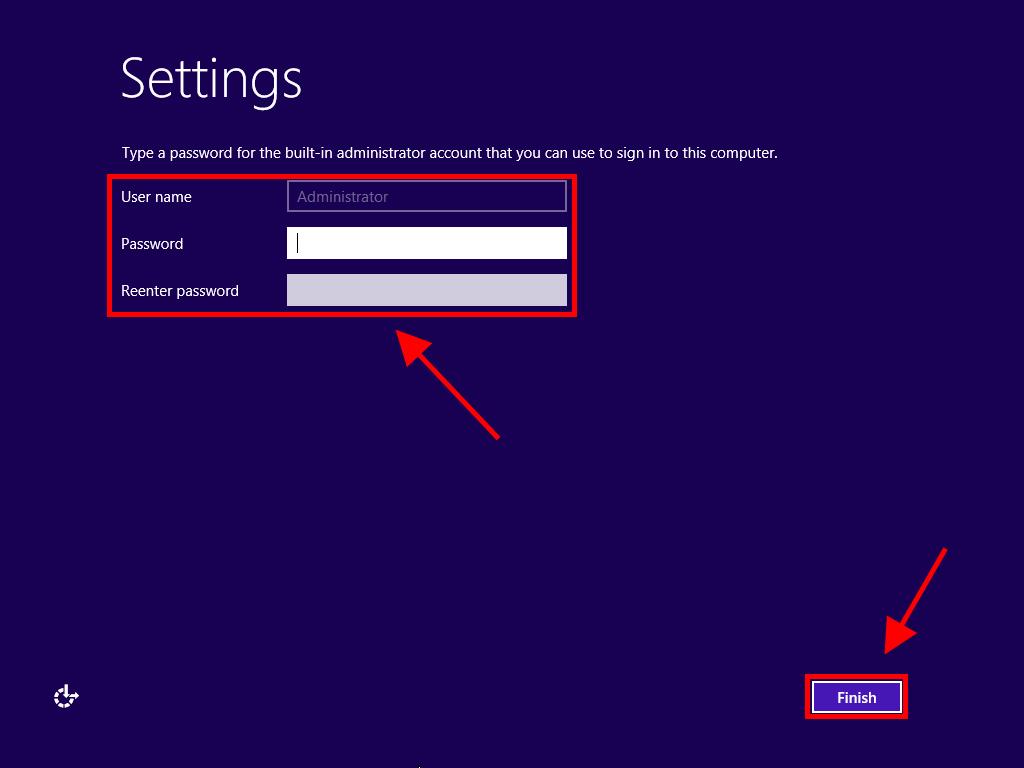
- After installation, click Accept and set up a password.
- Set a memorable password.
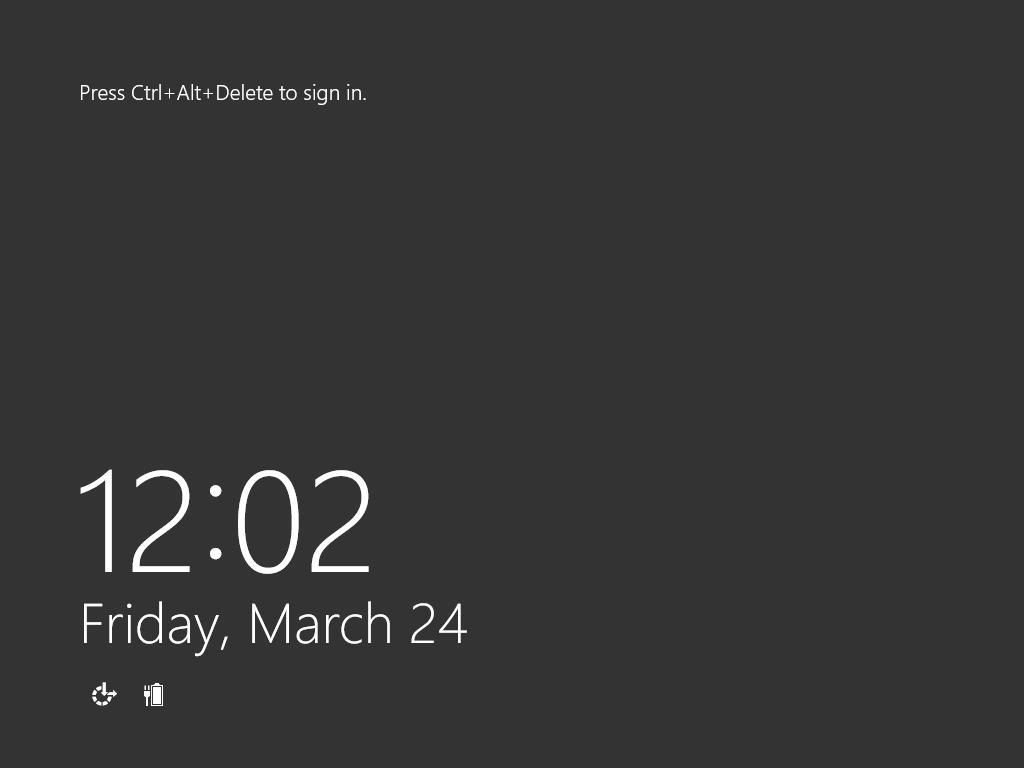
- Upon reaching the locked screen, press Ctrl+Alt+Del to log in.
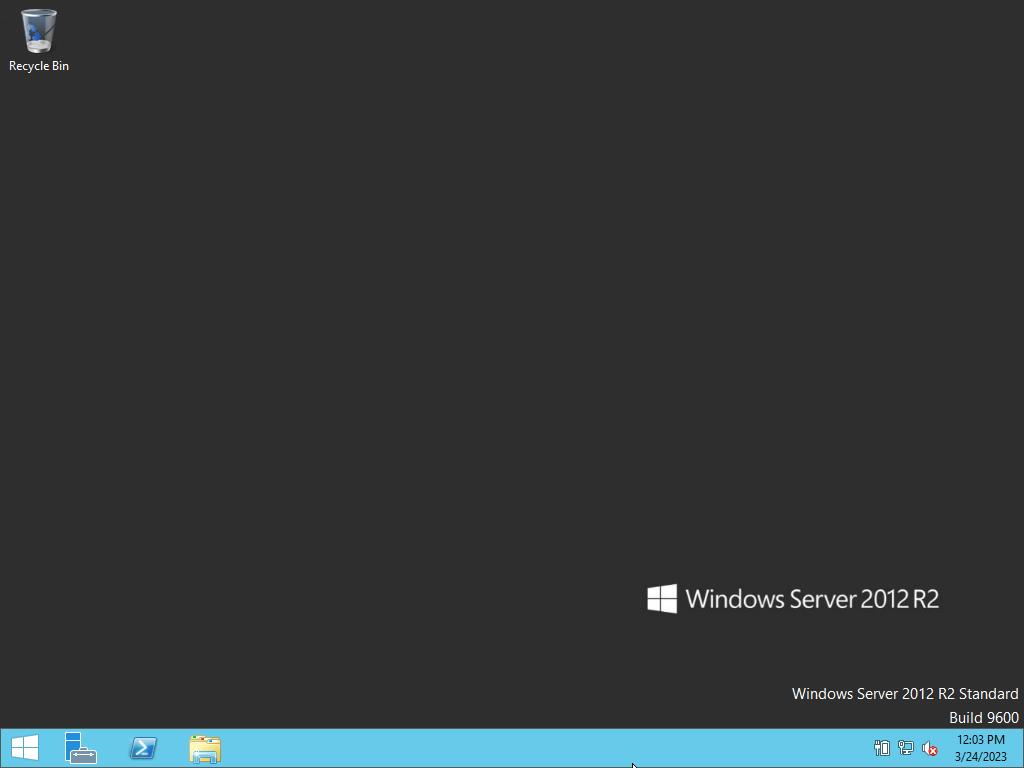
- With these steps, you have successfully installed Windows Server.
Note: Should the system fail to launch the installation from the USB, you might need to tweak the BIOS to enable USB as the primary boot option.

Recommendation: We suggest formatting all existing partitions for a smoother installation. If your drive is new, simply click Next.