 Sign In / Sign Up
 Orders
 Product Keys
 Downloads

 Go to United States of America - English (USD)
Creating Bootable Windows 11 Media: A Step-by-Step Guide
To initiate the Windows 11 installation, first, secure the Windows 11 ISO file. This file can be used to prepare a bootable USB drive, commonly known as a pendrive, for the installation process.
Note: Ensure your USB has at least 16 GB of storage space available.
Recommended software for this process includes:
Rufus
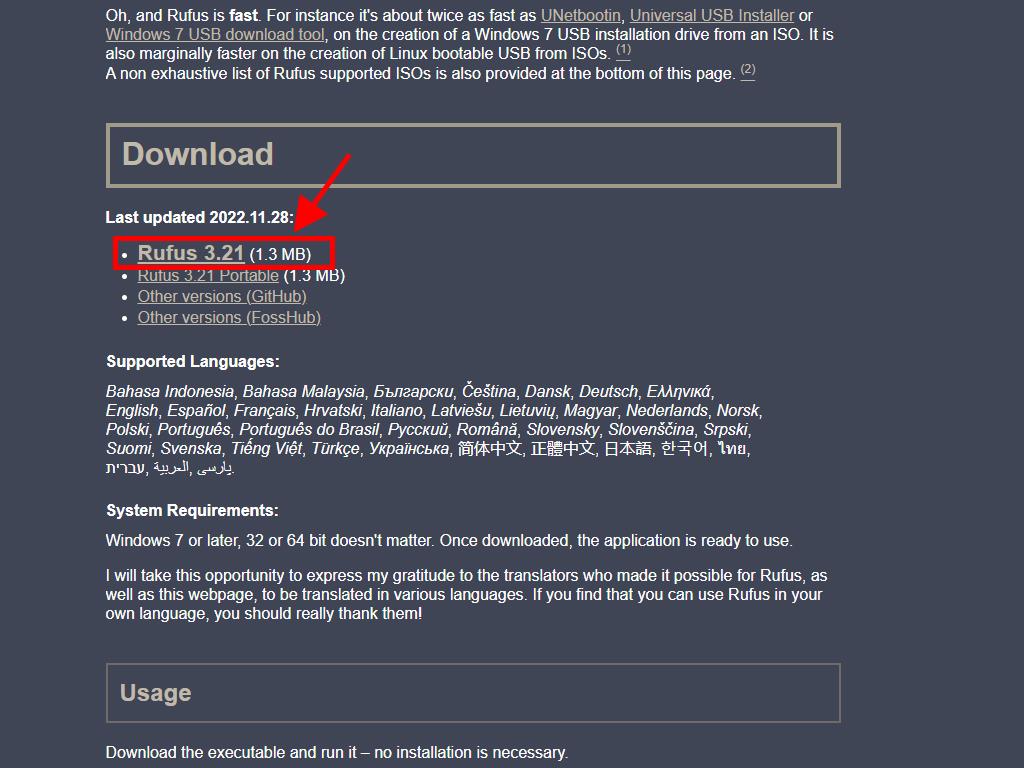
- Grab your free copy of Rufus here.
- Navigate to the Download section and select the latest version of Rufus to download.
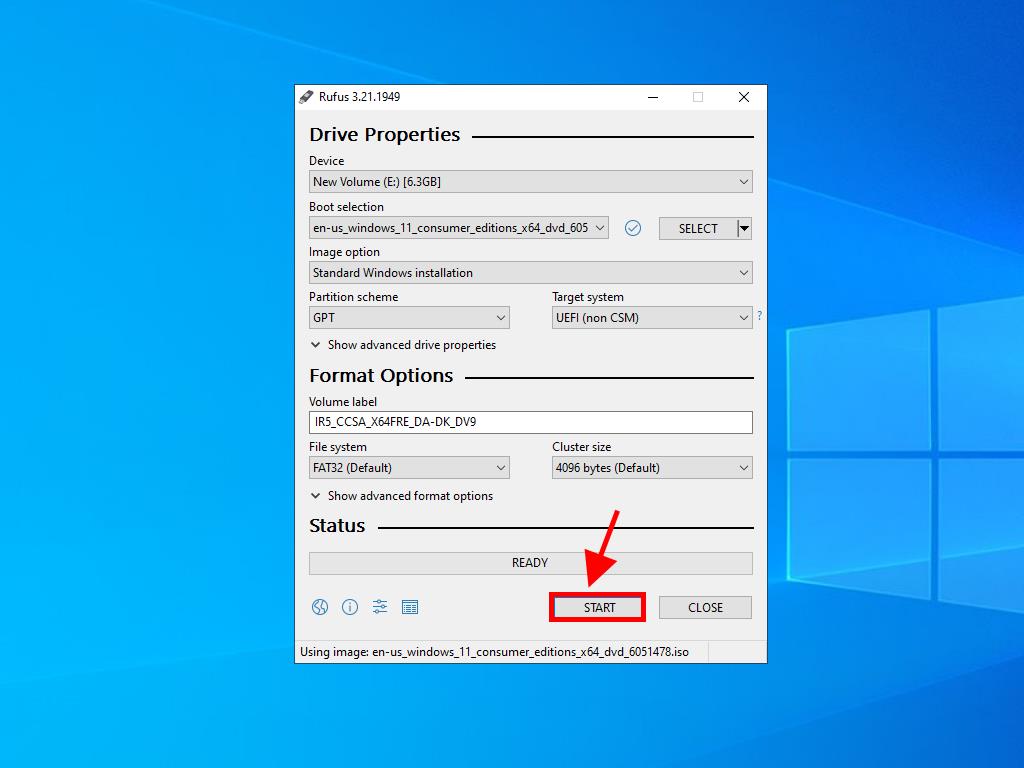
- Insert your USB device and open the Rufus application.
- Select Select, then locate and select the Windows 11 ISO file you want to use.
- Hit Start and wait as Rufus writes the ISO to the USB, making it bootable.
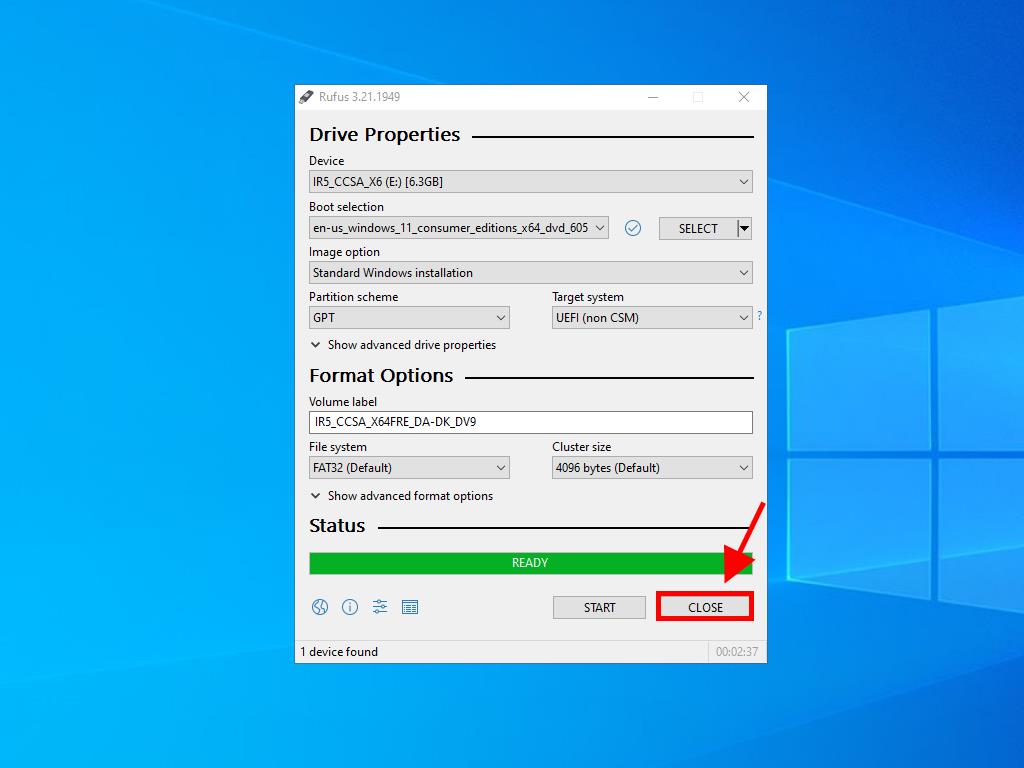
- Once the USB setup is complete (progress bar reaches 100%), click on Close to finalize the process.

Note: A customization menu may appear titled 'Customize Windows Installation'. Opt to Disable Data Collection before proceeding.
Note: Select the GPT partition scheme for PCs post-2020 and MBR for older models.
MediaCreationTool
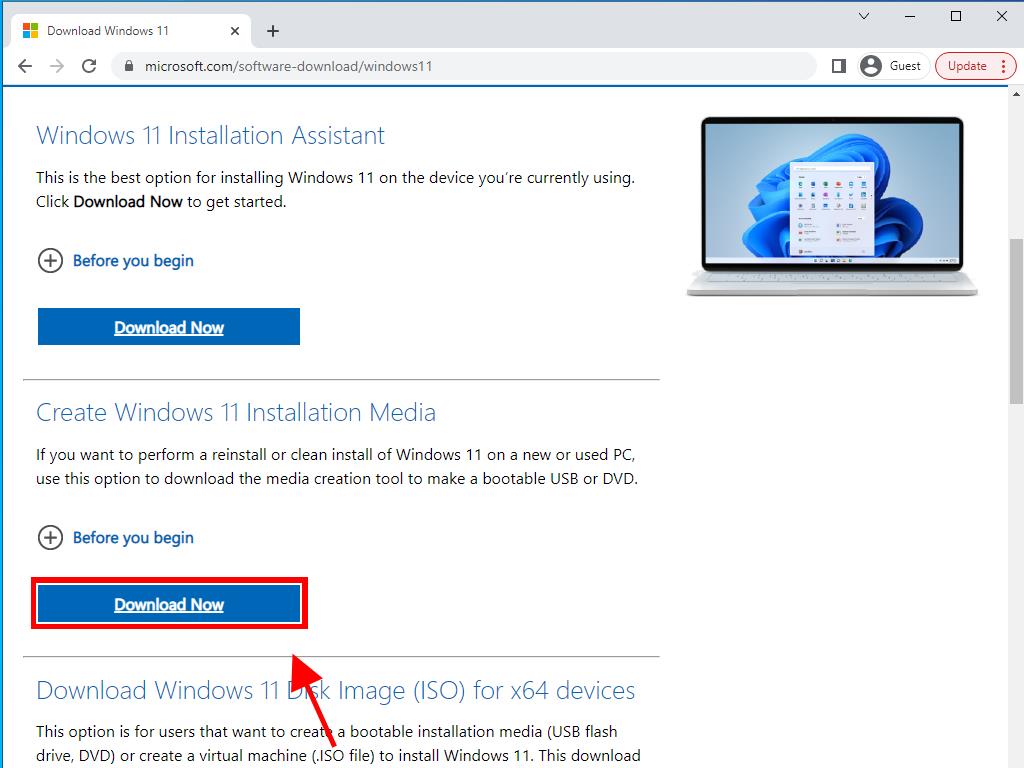
- Download the MediaCreationTool for free here.
- Hit Download now.
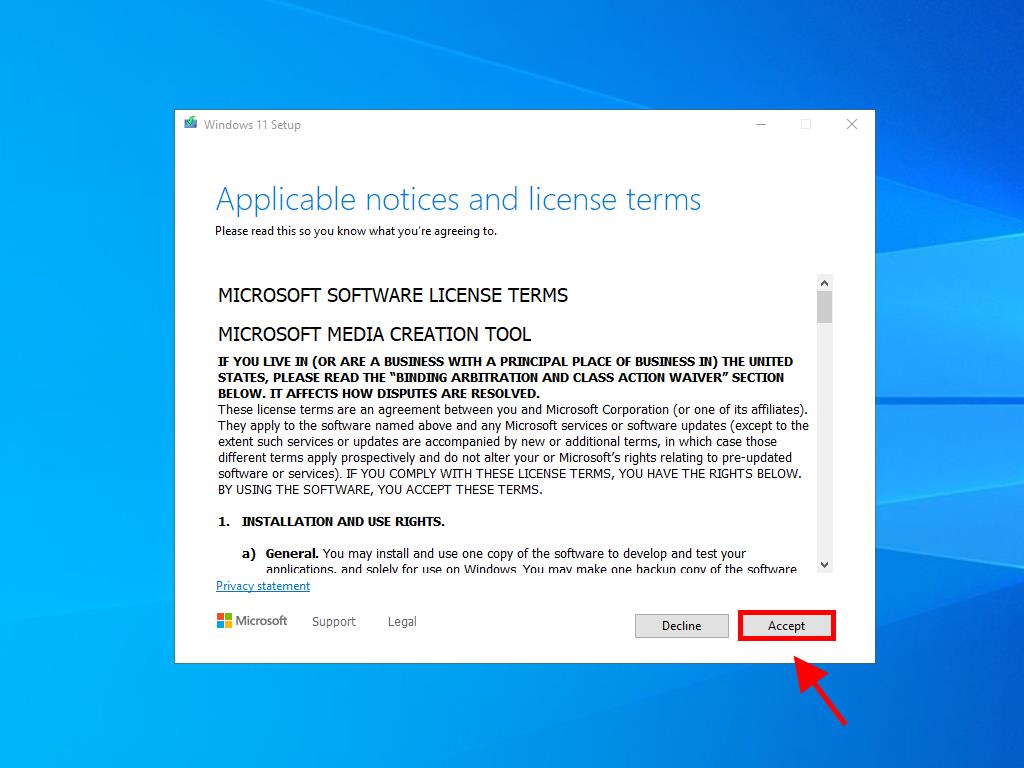
- Agree to the terms to proceed with installation, then click Accept.
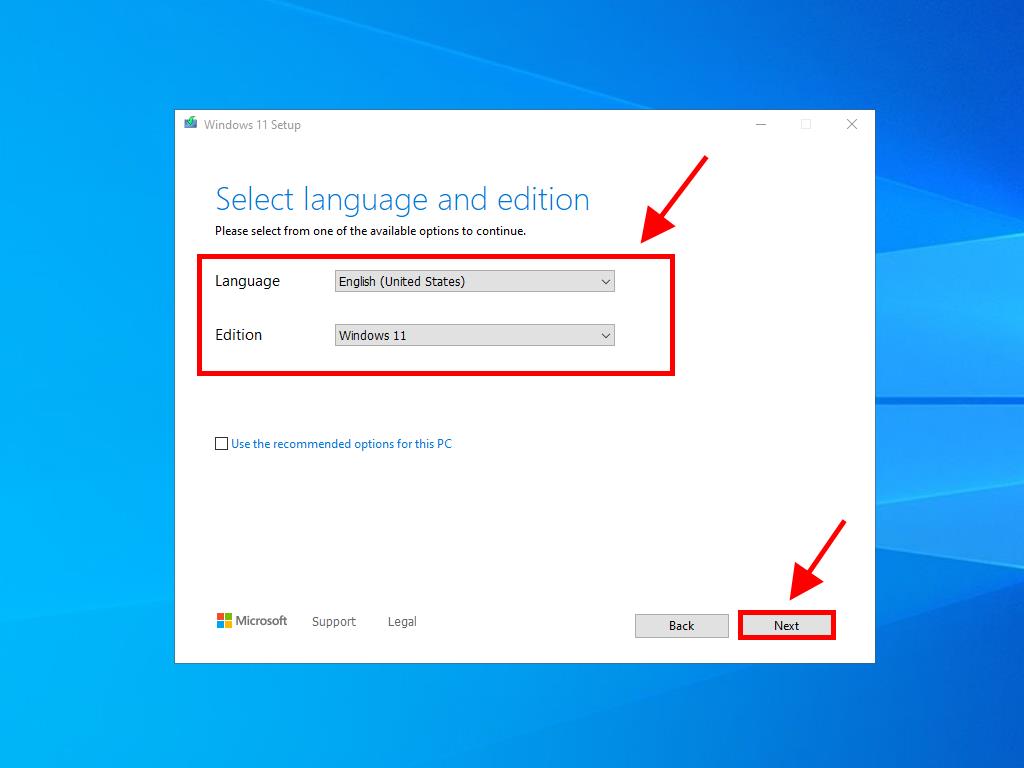
- In the subsequent menu, select your language and edition of Windows. Hit Next.
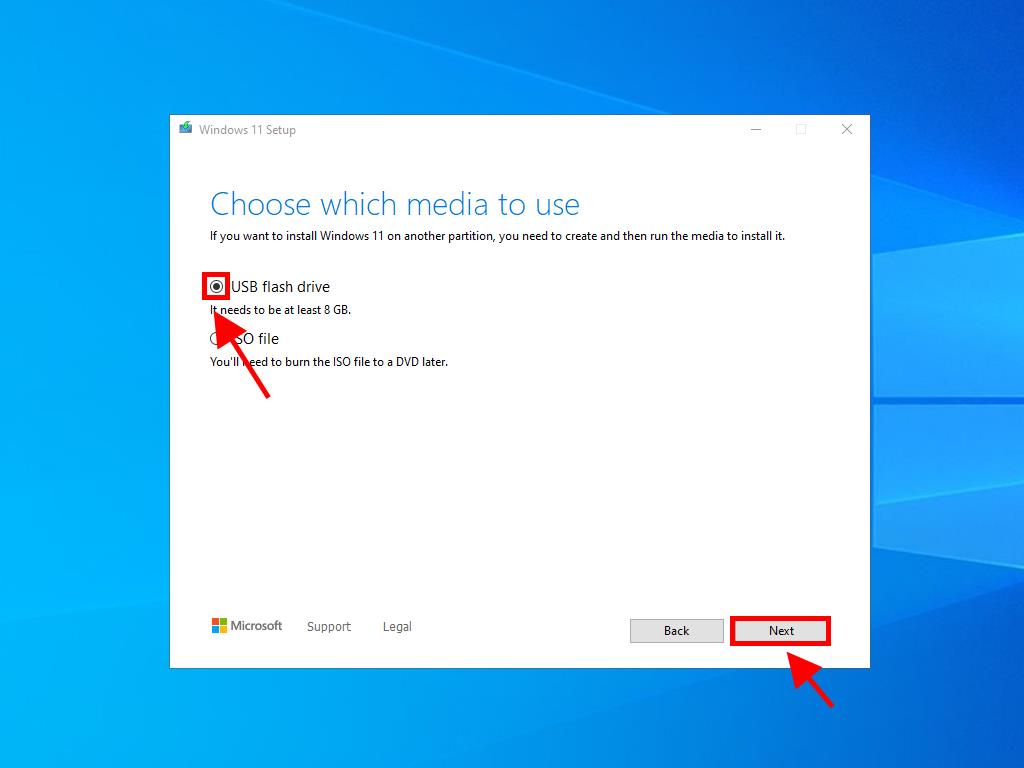
- Opt for USB flash drive and press Next.
- This will initiate the download and configuration on your USB drive.
Note: If the preselected language and Windows edition do not match your preferences, deselect Use the recommended options for this PC to make your own selections.
Note: If your USB is not recognized immediately, restart the application without detaching the USB from your PC. Remember, the data on the USB will be erased.