Sign In / Sign Up
 Orders
 Product Keys
 Downloads

 Go to United States of America - English (USD)
Installing Office / Project / Visio 2013 on Your Computer
For a successful Office 2013 installation, start by considering the operating system of your PC. We guide you through the setup for different versions of Windows:
Installing Office 2013 on Windows 8.1, 10, and 11
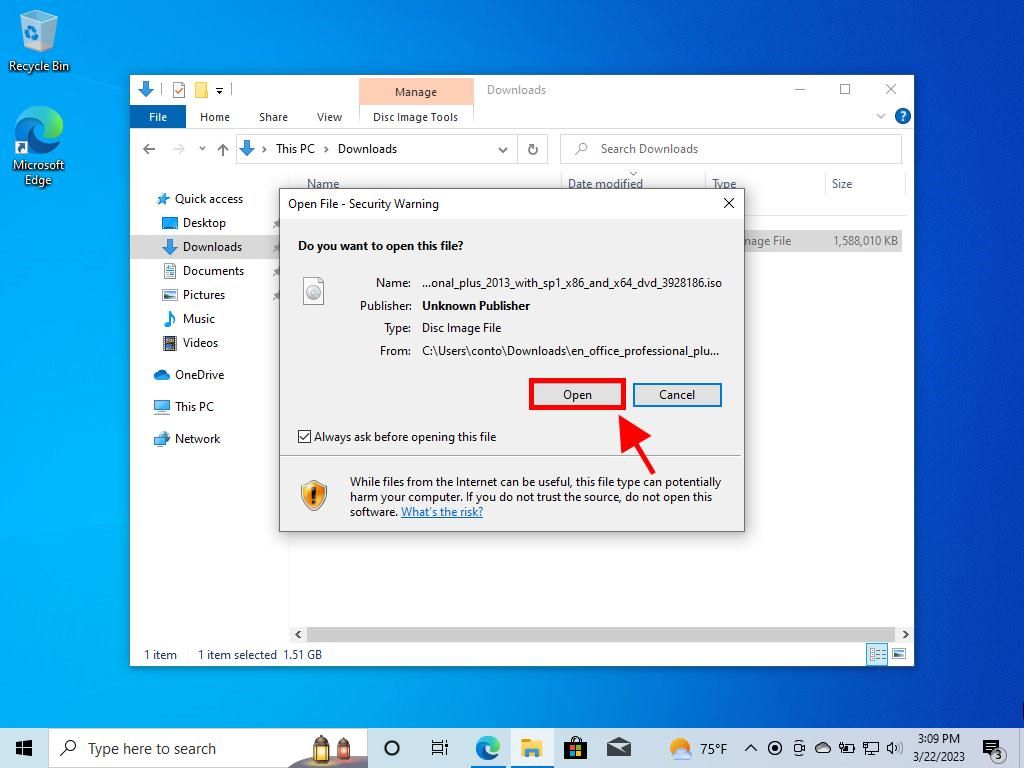
- After downloading the Office 2013 .iso file, locate it and double-click. In the resulting window, select Open.
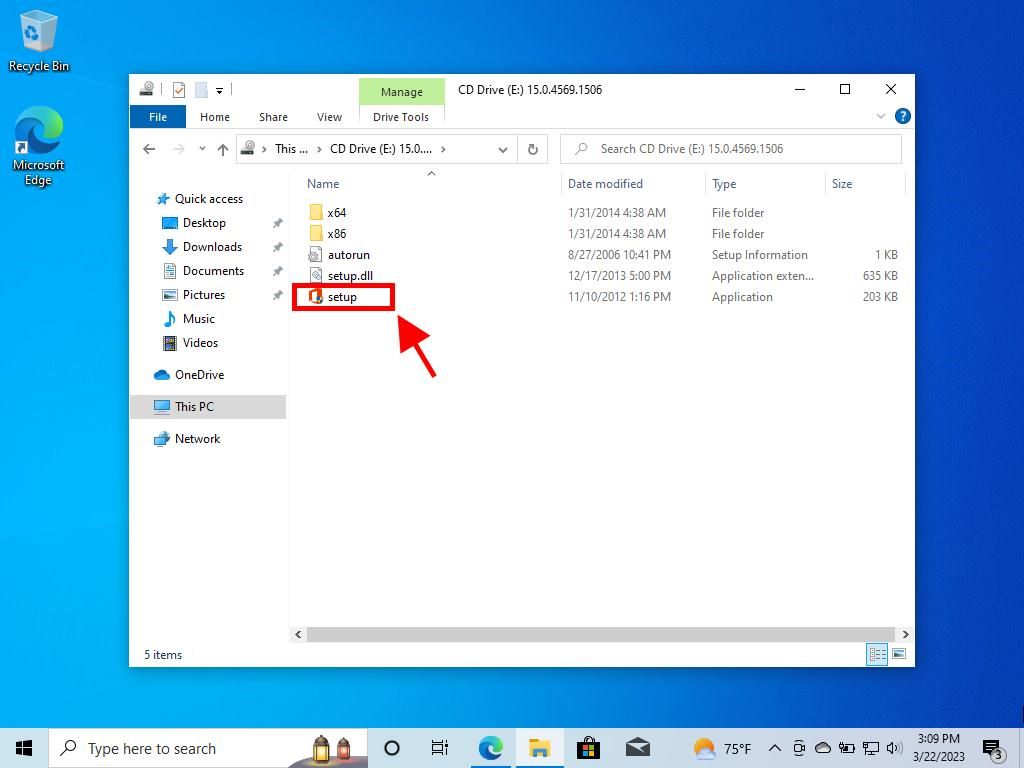
- Next, a new window appears; here, double-click the Setup file.
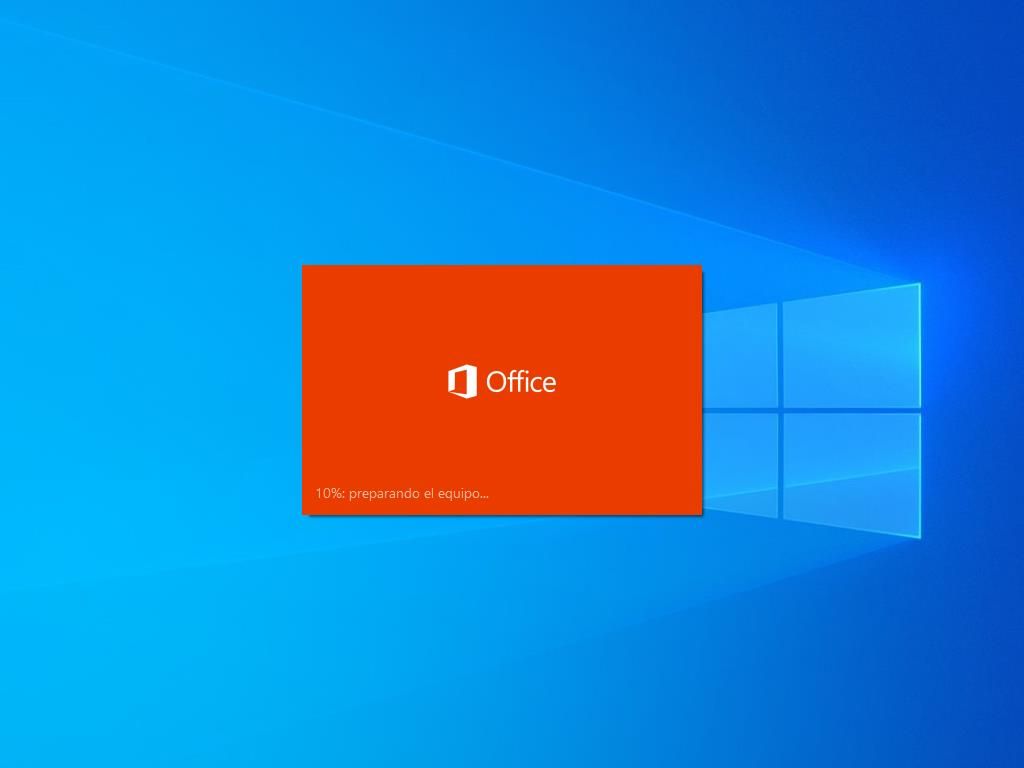
- Allow some minutes for the installation to complete.
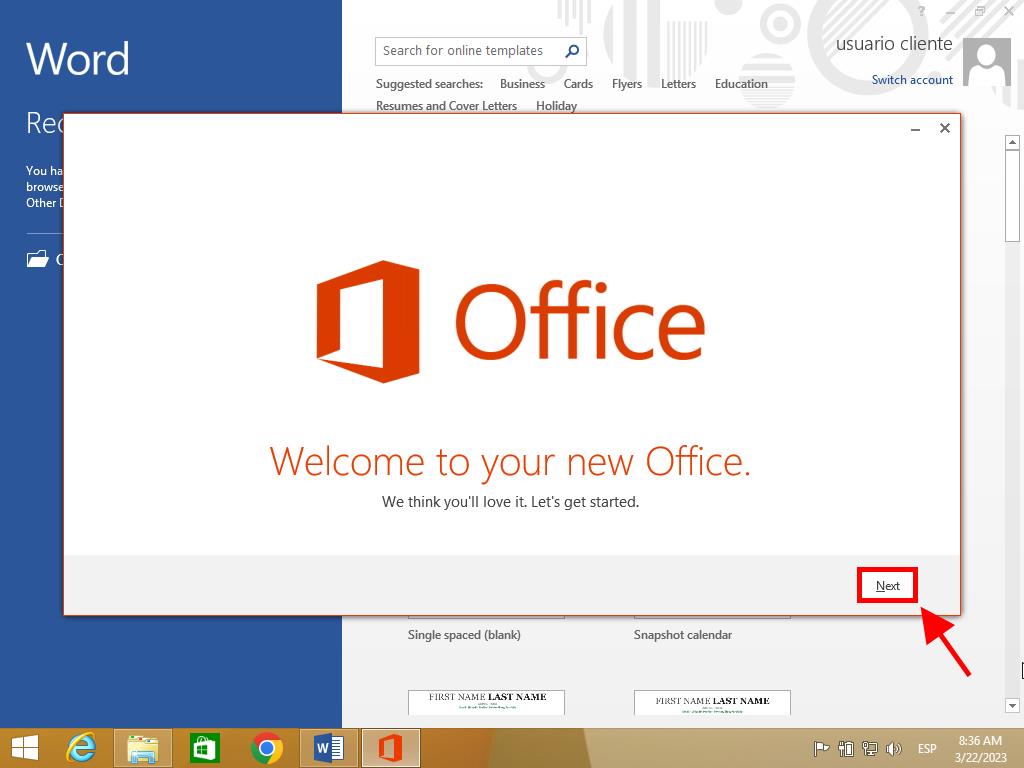
- Proceed by clicking Next.
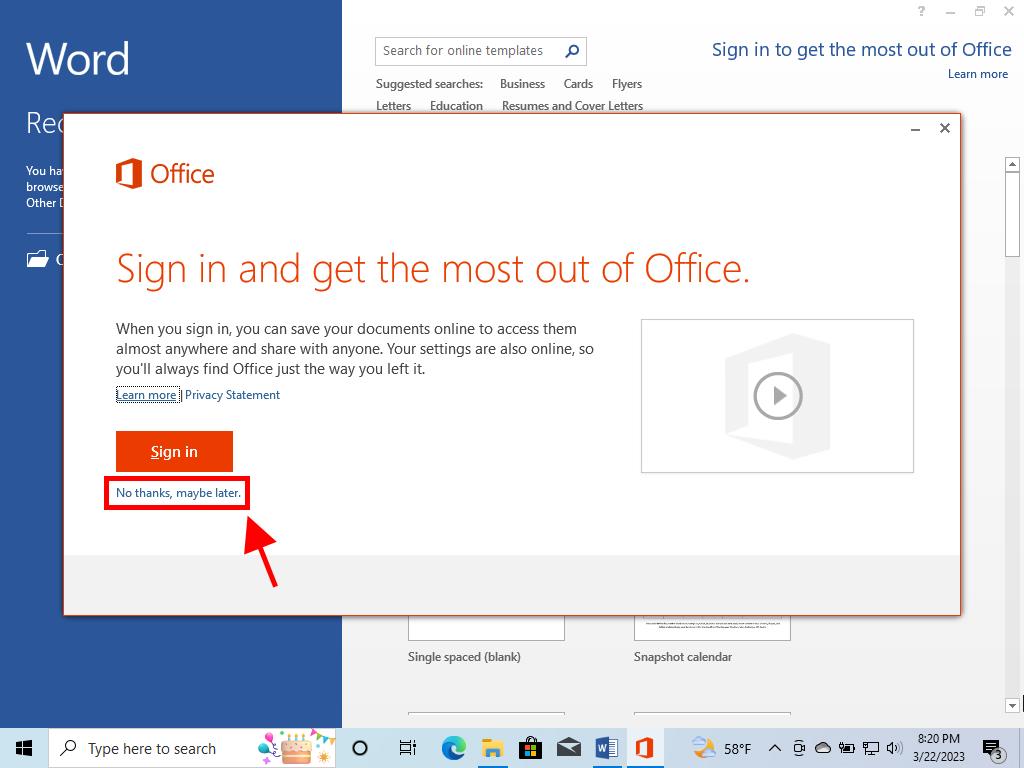
- In the subsequent window, select No, thanks. Maybe later.
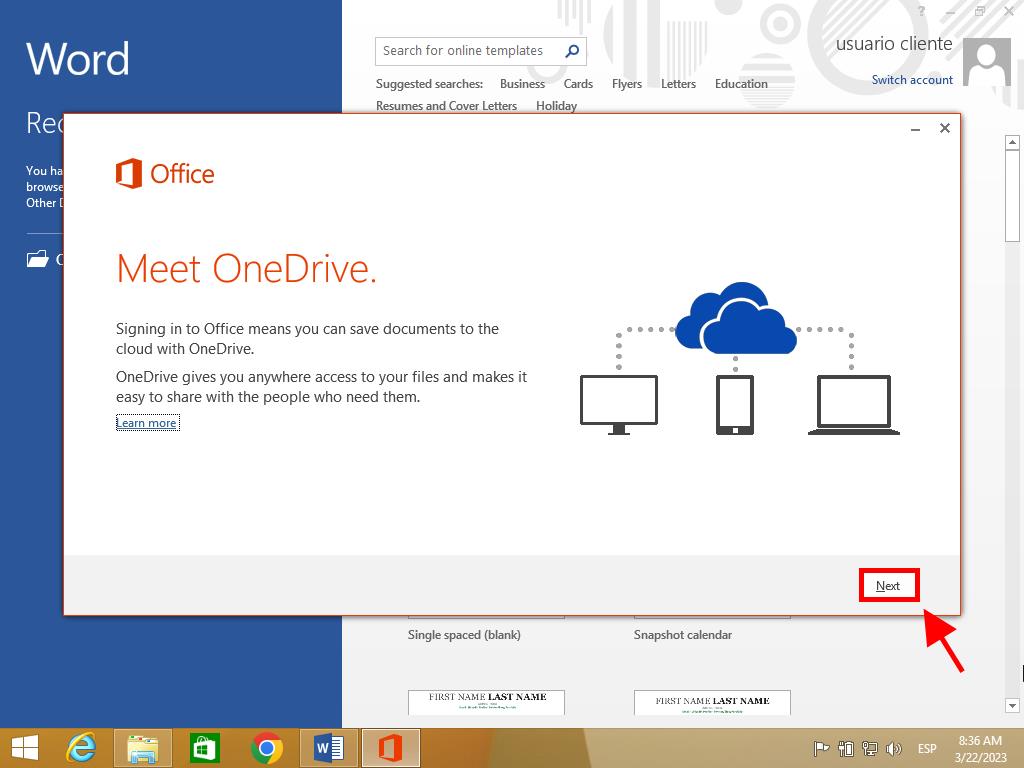
- Click on Next in this image.
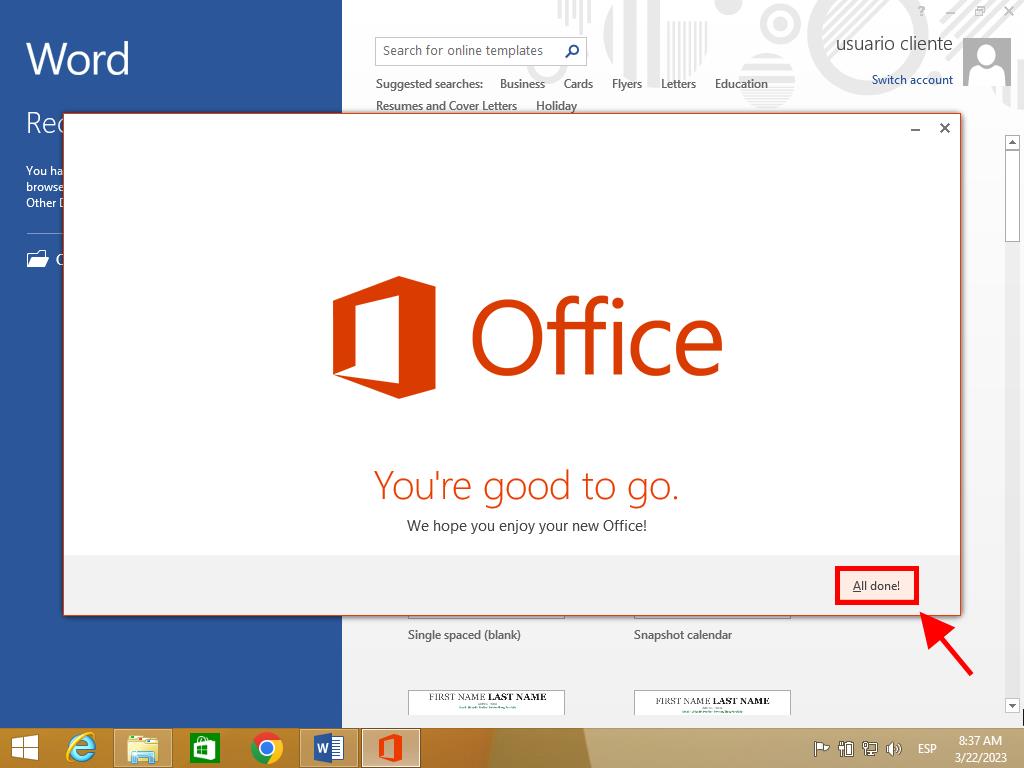
- Conclude by selecting All done!.
- Office 2013 is now installed and ready for use on your PC.
Instructions for Installing Office 2013 on Windows 7 and 8
Note: To install and activate Office 2013 on Windows 7 and 8, ensure you have a file compression program like Winrar, Winzip, or 7 Zip installed.
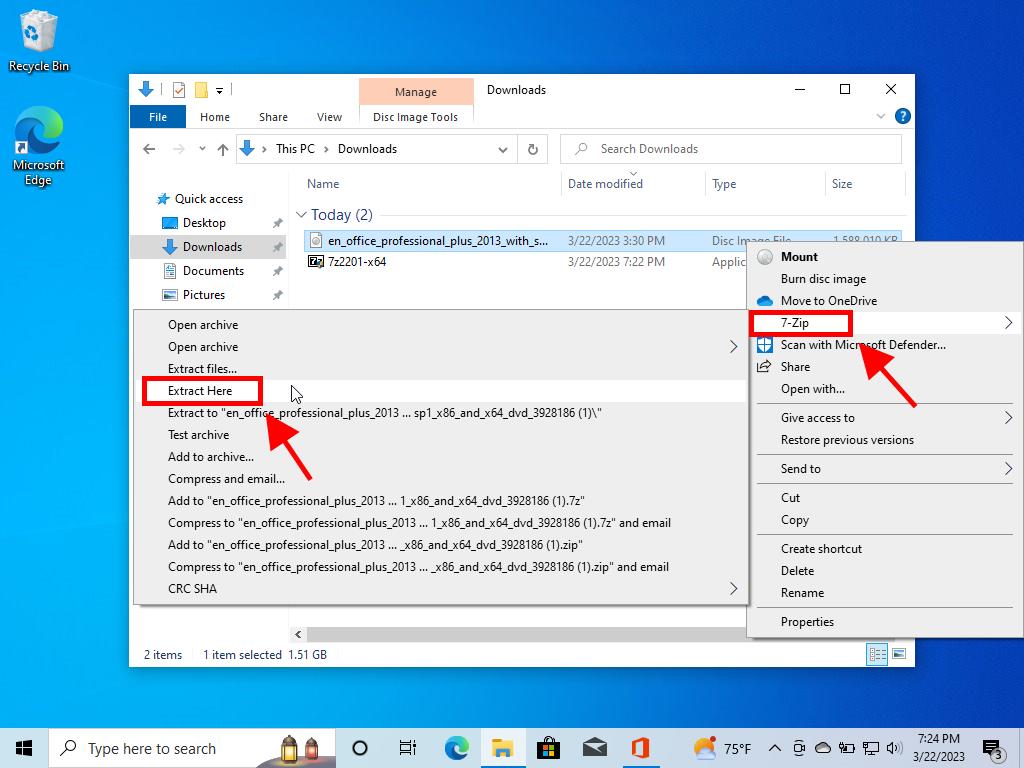
- Once the Office 2013 .iso file is downloaded, right-click the file, select 7 zip, and choose Extract here.
- Following extraction, navigate to the bottom of the window and double-click on the setup file.
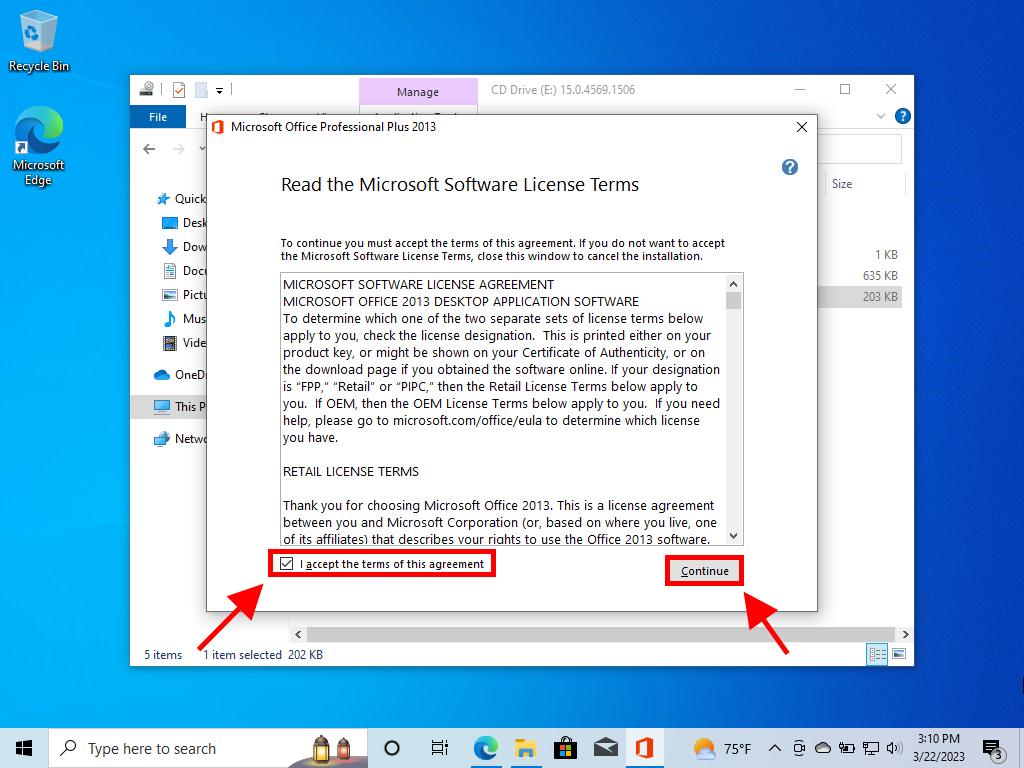
- Accept the terms and conditions by ticking the box, then click Continue.
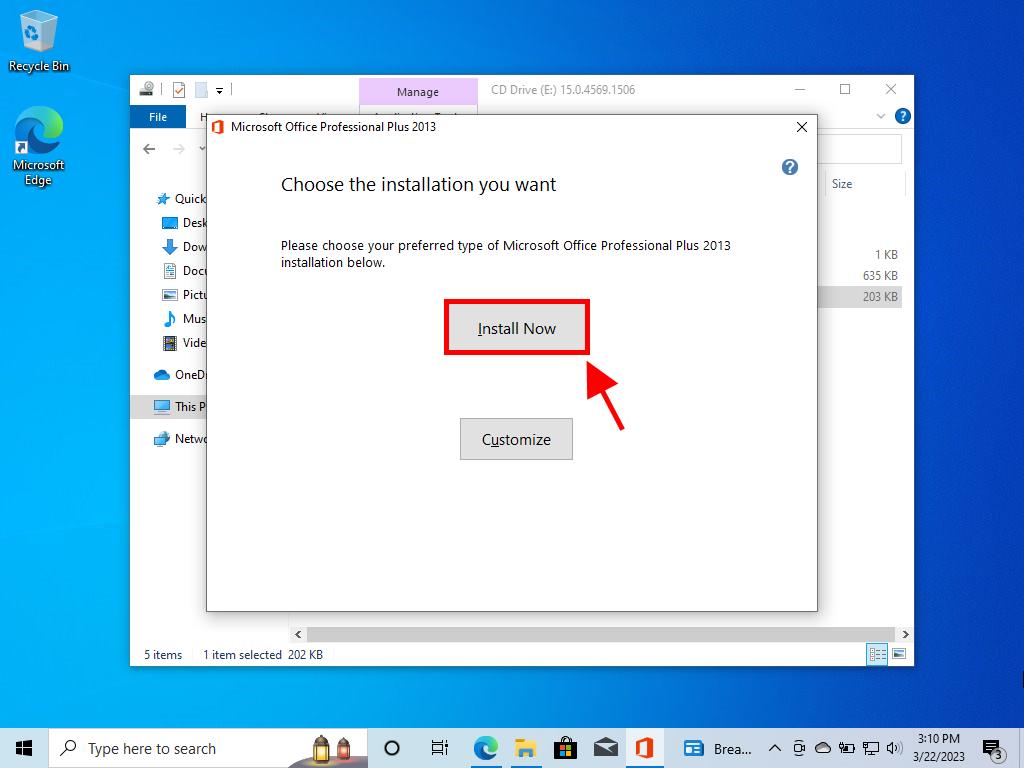
- Click on Install now.
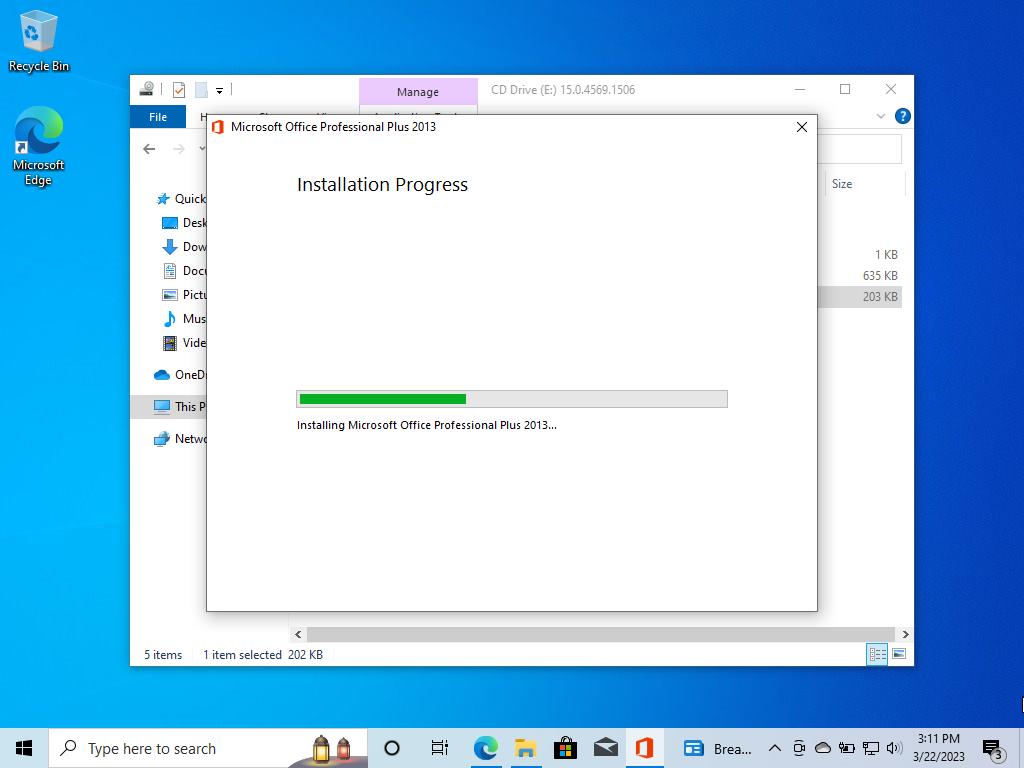
- Allow a few minutes for the software to install.
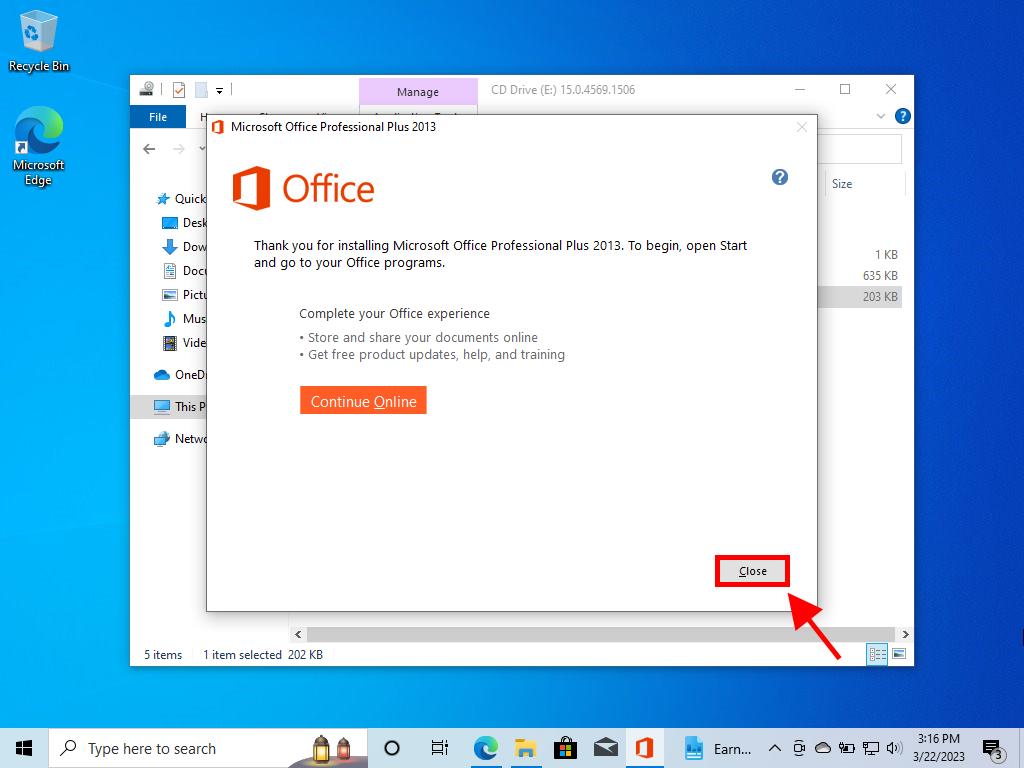
- End the process by clicking Close.
- By following these steps, you will have successfully installed Office 2013 on your PC.