Sign In / Sign Up
 Orders
 Product Keys
 Downloads

 Go to United States of America - English (USD)
Comprehensive Guide to Installing and Activating Office/Project/Visio 2010
For a successful installation of Office 2010, the compatibility with your PC's operating system is crucial. We detail the installation process for various Windows environments below:
Installation Steps for Office 2010 on Windows 8.1, 10, and 11
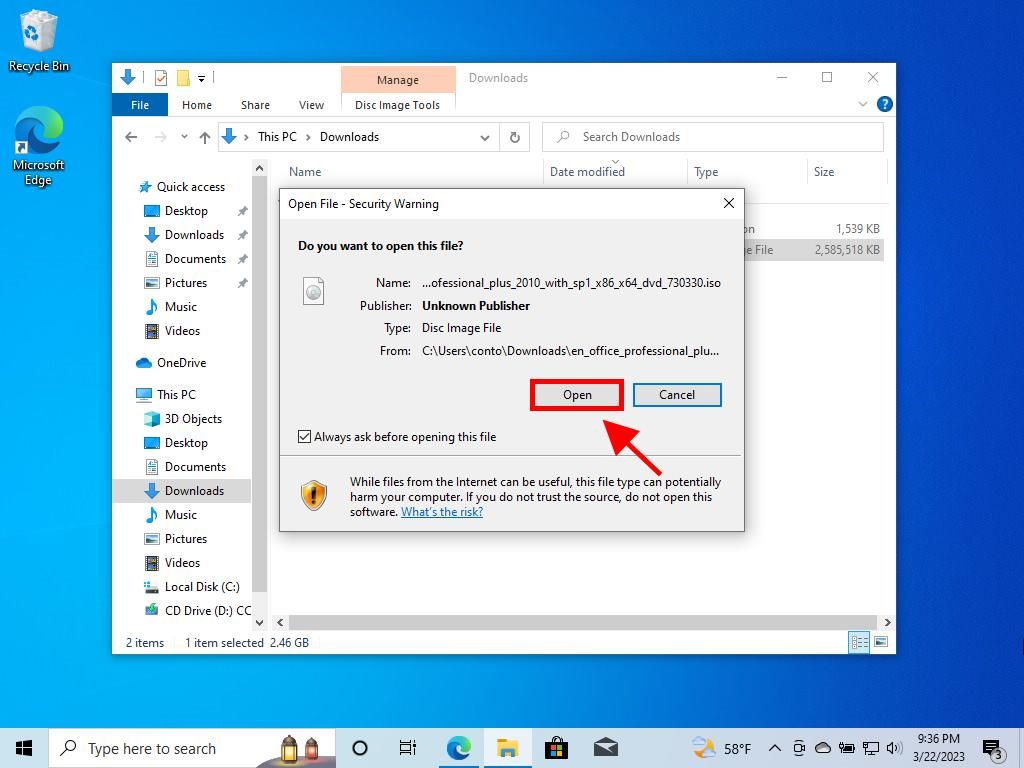
- After downloading the Office 2010 .iso file, locate and double-click to open it. In the emerging dialogue box, select Open.
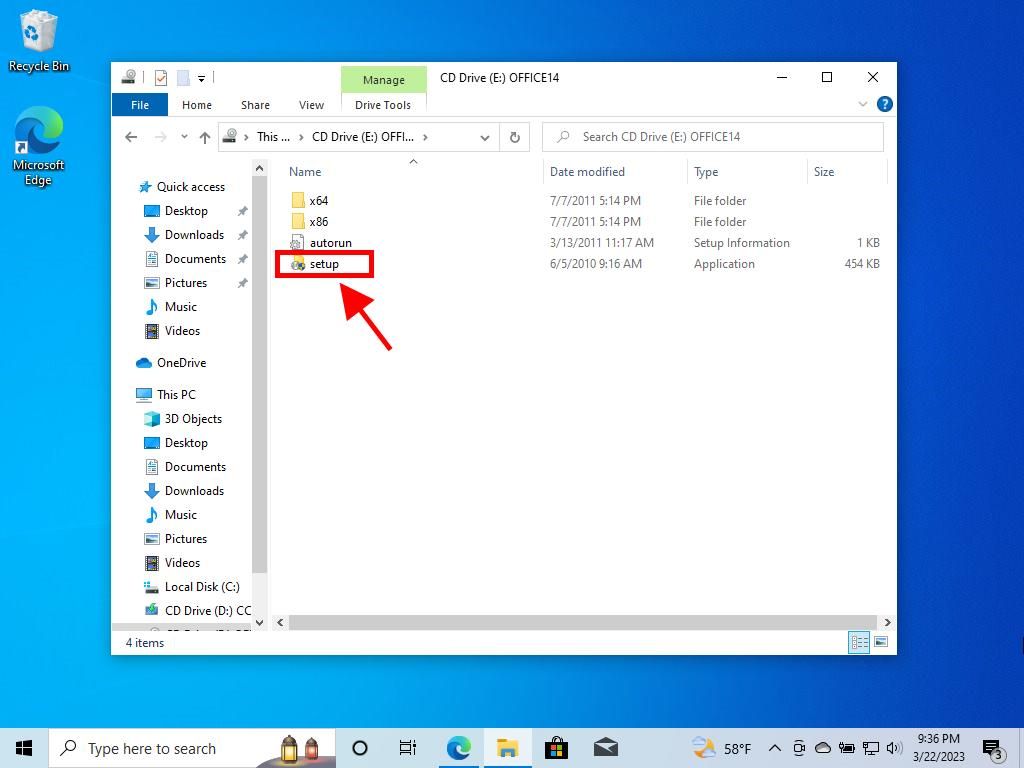
- Open the Setup file from the new window.
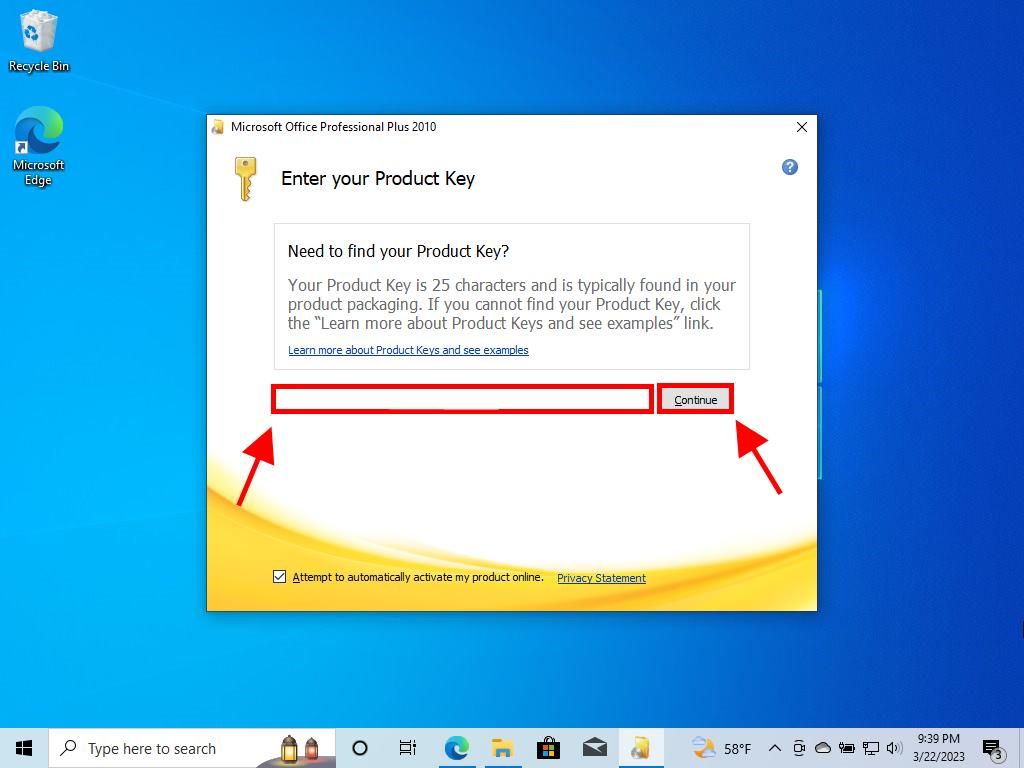
- Input your product key and select Continue.
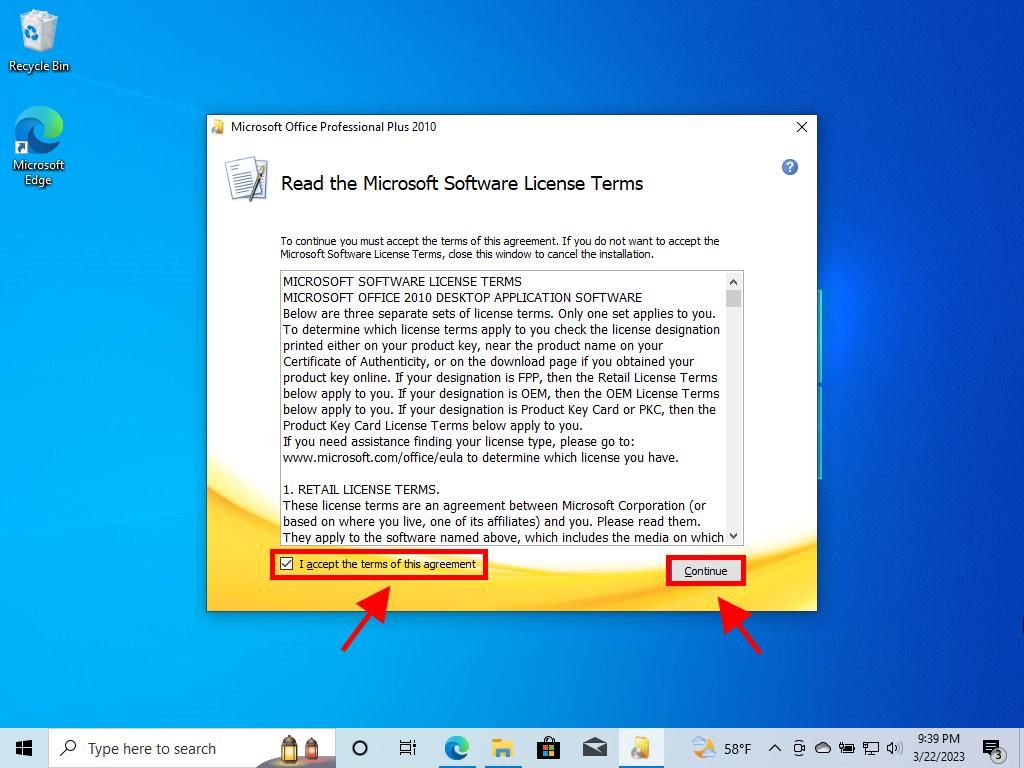
- Accept the terms and conditions by ticking the appropriate box, then click Continue.
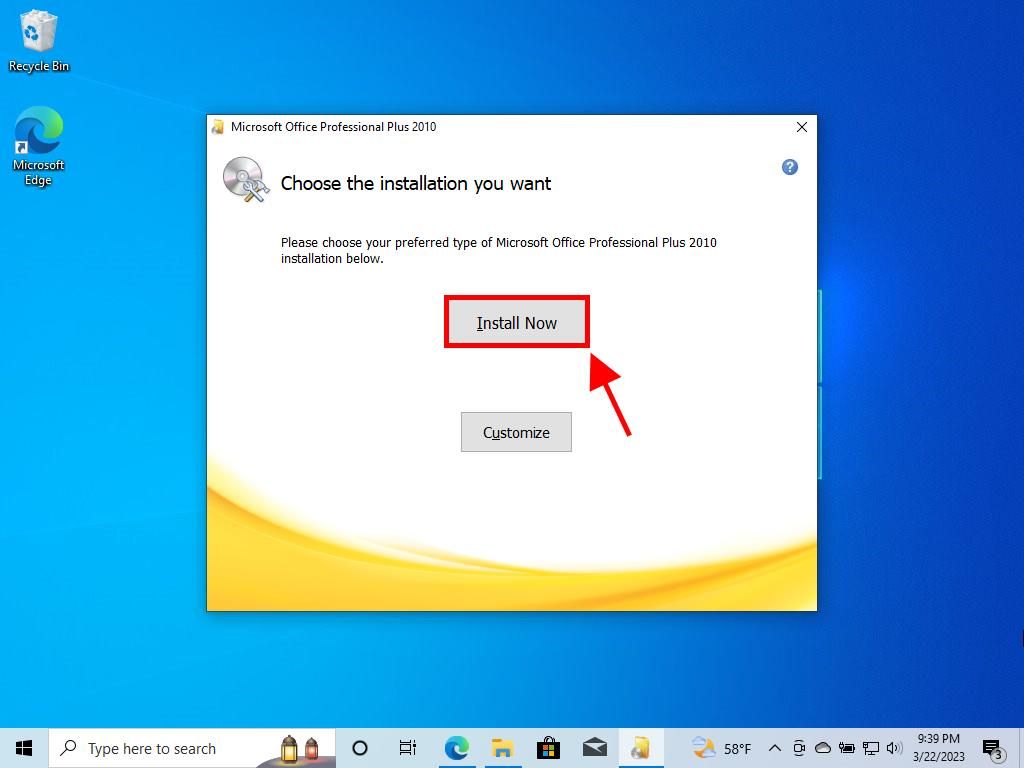
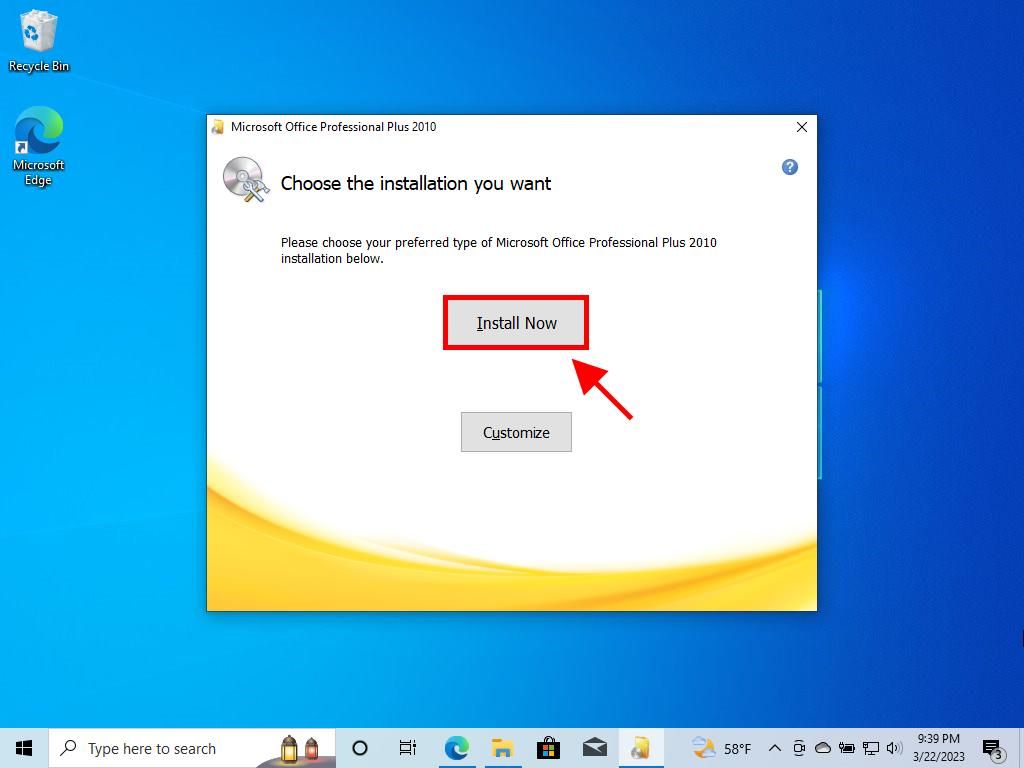
- Initiate the installation by selecting Install now.
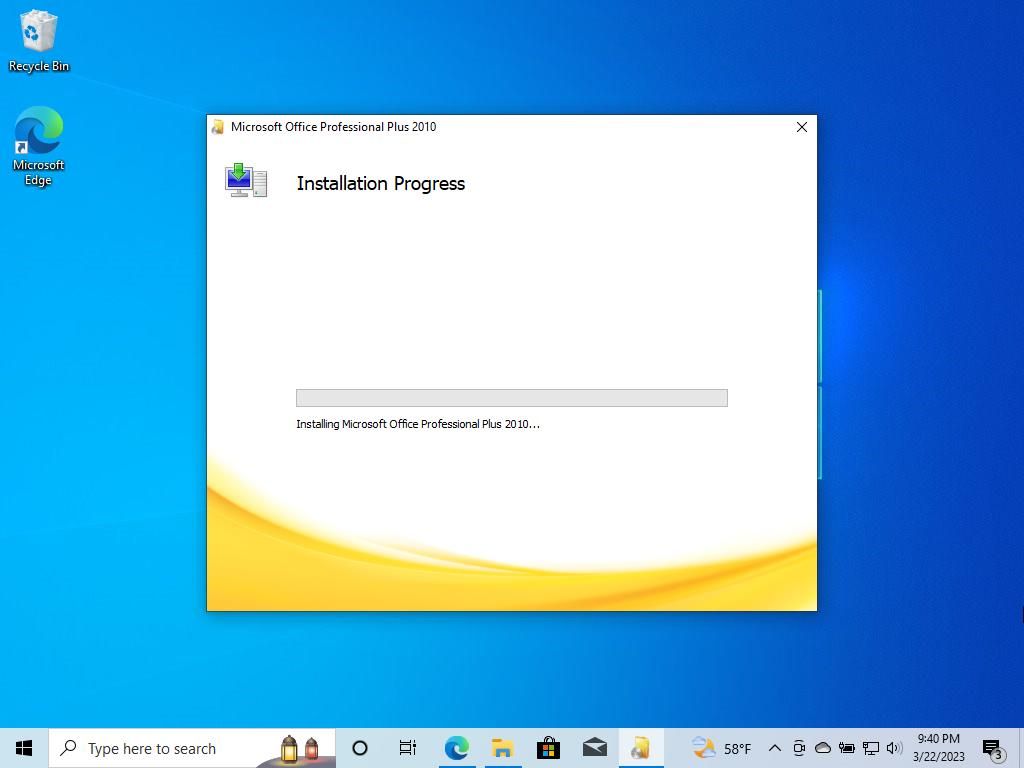
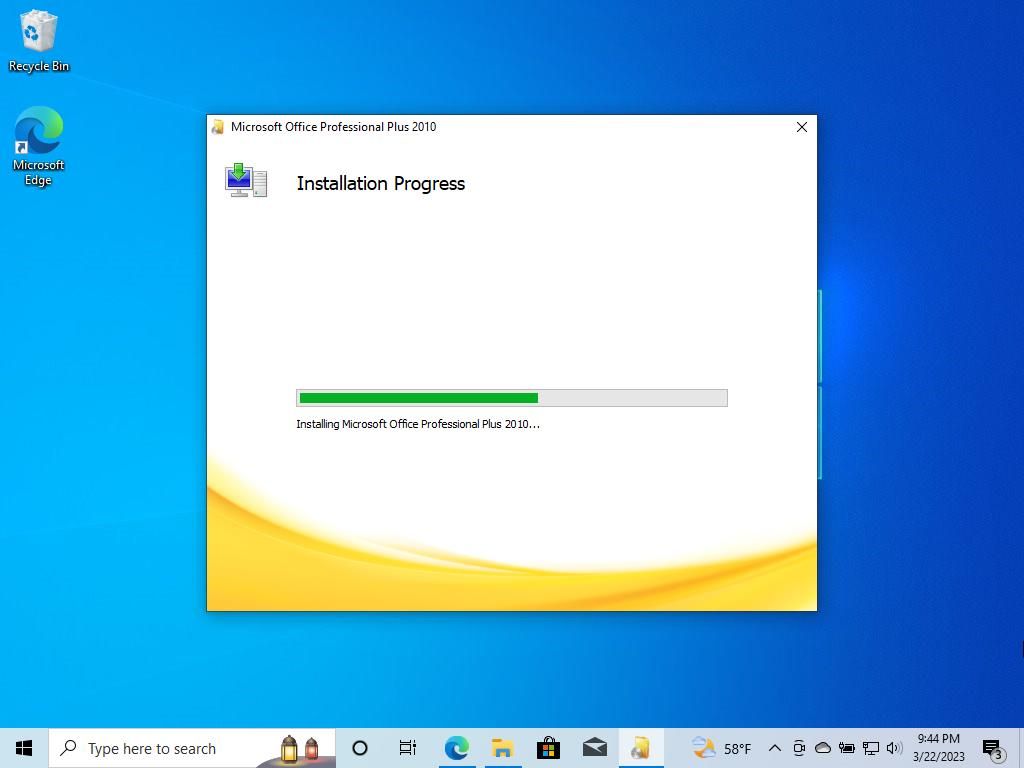
- Allow a few minutes for the installation to complete.
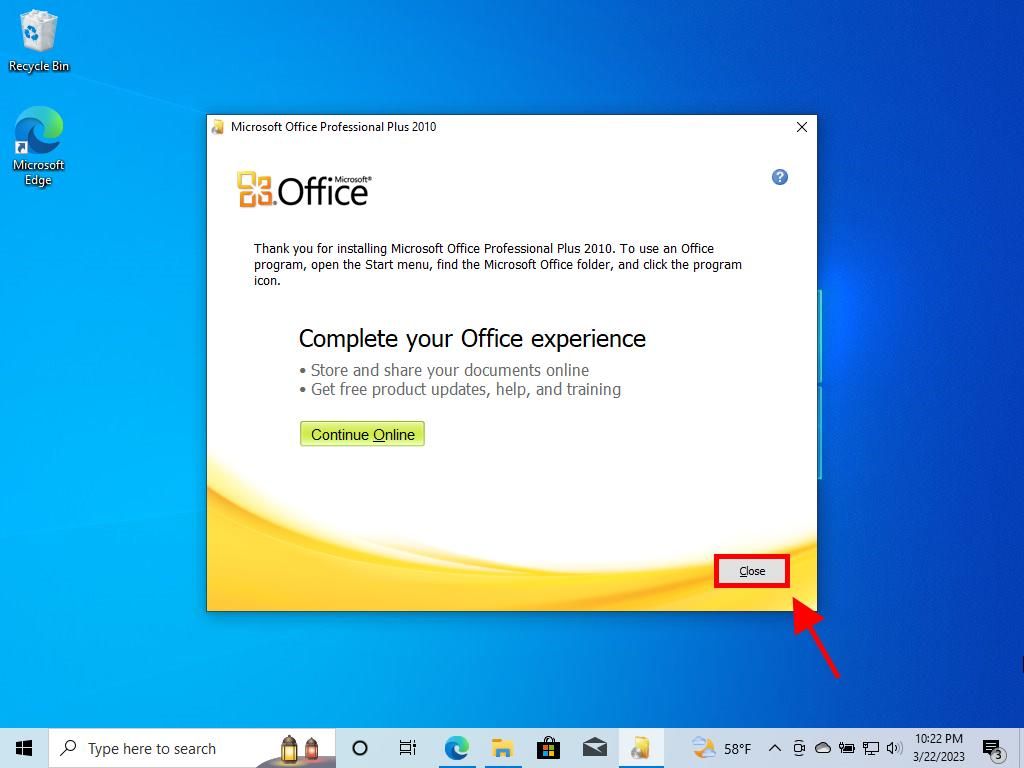
- Conclude by clicking Close.
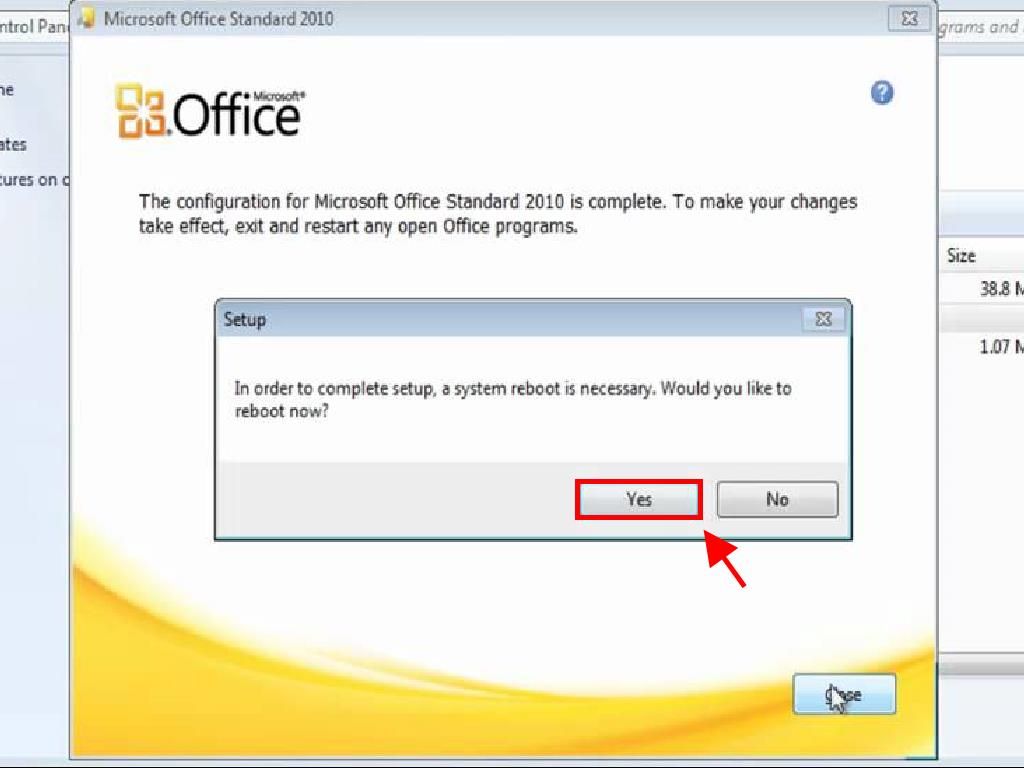
- A prompt to restart your PC will appear. Close all applications and select Yes.
- Once your device restarts, Office 2010 will be fully installed and activated.

Installing Office 2010 on Windows 7 and 8
Note: To install and activate Office 2013 on Windows 7 and 8, ensure you have a file compression tool like WinRAR, WinZip, or 7-Zip installed on your PC. Here, we will use 7-Zip for demonstration.
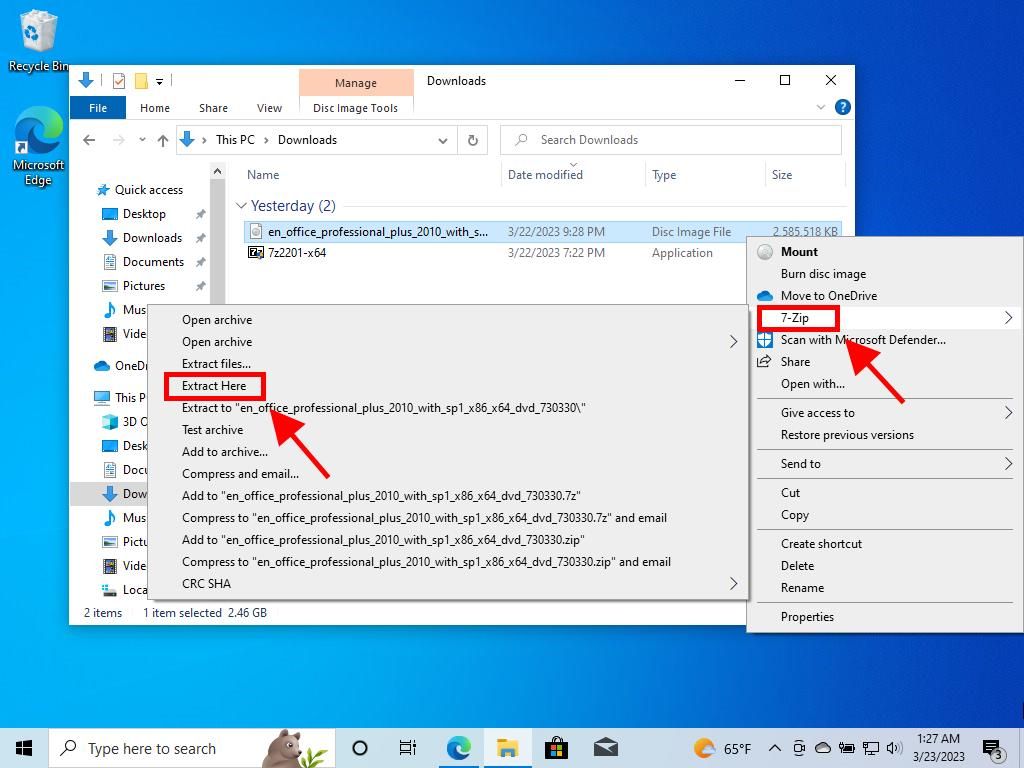
- After downloading the Office 2010 .iso file, right-click and choose 7-Zip, then select Extract here.
- Open the extracted setup file from the window below.
- Enter your Office product key and proceed by clicking Continue.
- Agree to the terms and conditions, then click Continue.
- Start the installation by selecting Install now.
- Allow a few minutes for the installation to complete.
- Conclude the process by clicking Close, and your Office 2010 will be ready for use.